


� 2019 JimVonBaden/JVB Productions
�
R1200 GS/Adv HID Install, with additional mounts:
Caution: This pictorial is for informational purposes only. I accept no responsibility for accuracy, or any damage caused to your motorcycle if you choose to perform these maintenance items.
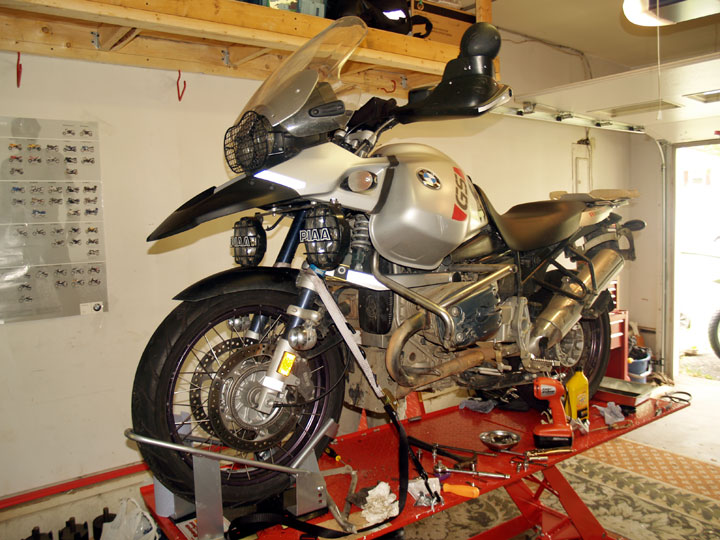
I decided to do a short pictorial on how to install a set of HID lights in my R1200GS. This pictorial is done with lots of extra parts removed for clarity. I wont be telling you what tools to use, or torques. This type of pictorial doesn�t lend itself well to it, but you should easily be able to do what I did. I also included pics of the lights in action, and mounts from others on their R1200GS bikes. (Appropriate for 2004-2011 R1200GS and GSA bikes.)
Caution: This pictorial is for informational purposes only. I accept no responsibility for accuracy, or any damage caused to your motorcycle if you choose to perform these maintenance items.
I decided to do a short pictorial on how to install a set of HID lights in my R1200GS. This pictorial is done with lots of extra parts removed for clarity. I wont be telling you what tools to use, or torques. This type of pictorial doesn�t lend itself well to it, but you should easily be able to do what I did. I also included pics of the lights in action, and mounts from others on their R1200GS bikes. (Appropriate for 2004-2011 R1200GS and GSA bikes.)
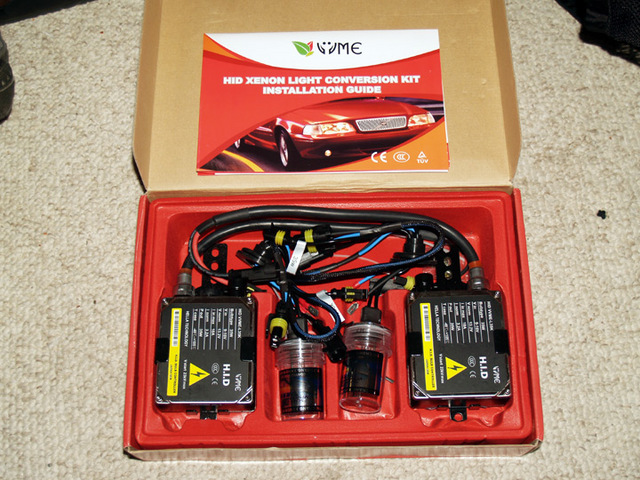
Here are the lights in the box. Mine were the fat ballasts, with the igniters built in. I have done the ones without the ballast built in, and they are definitely easier to mount, though basically in the same place.
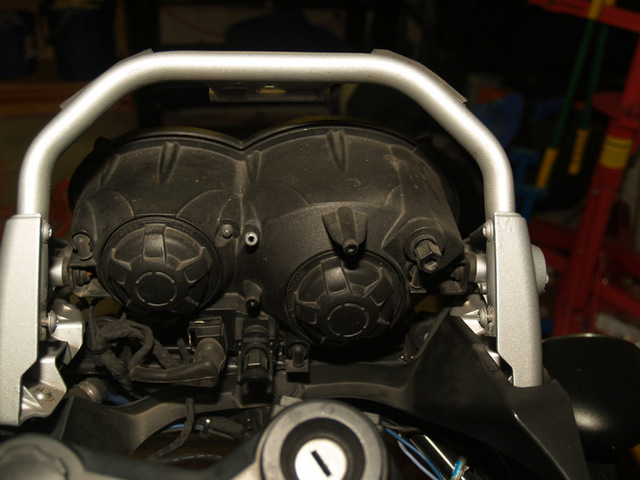
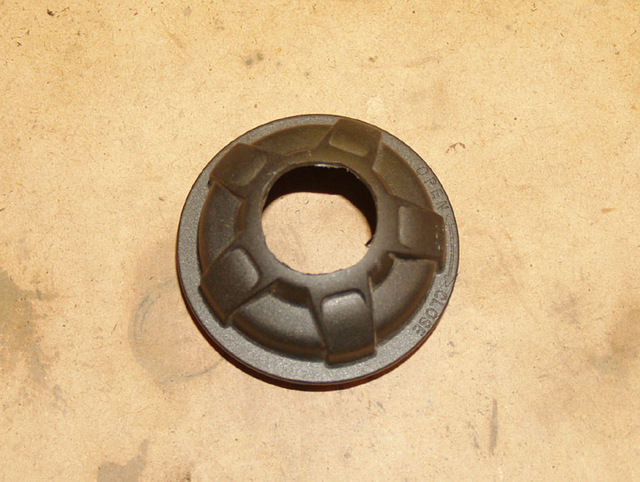
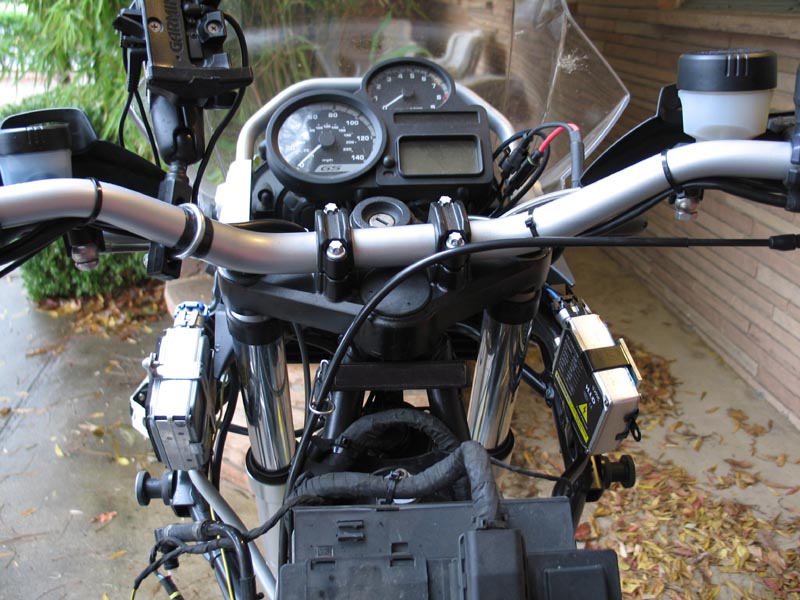
I removed the instruments for the job to make it easier to see, but it is definitely not needed. Here are the High (left) and low (right) covers. Just pop the caps off by twisting them counterclockwise.
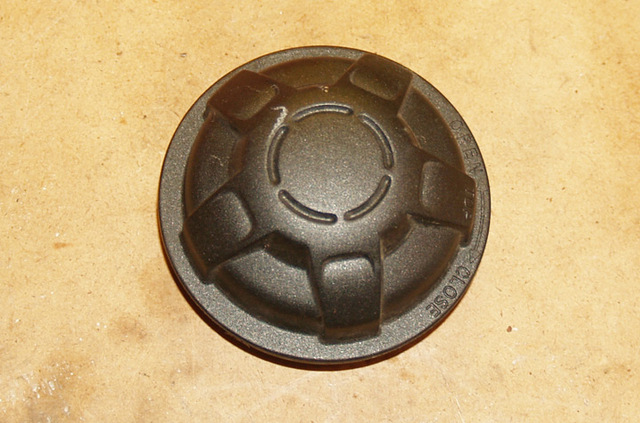
Here is a cap before drilling the 23mm hole. I used a Dremmel tool to do mine.
Here is the same cap after removing the material. Interestingly, it is exactly the same size as the indents in the caps. I bet you know why? Note: If you ever revert to stock bulbs, be sure to cover the hole!
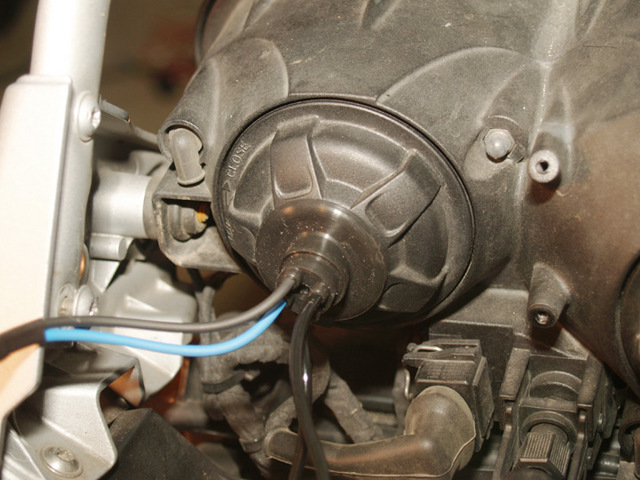
Simply push the wires through the hole, then pull the grommet in place. They recommend adding some sealant, but I didn�t. I figure they will seal just fine as is.
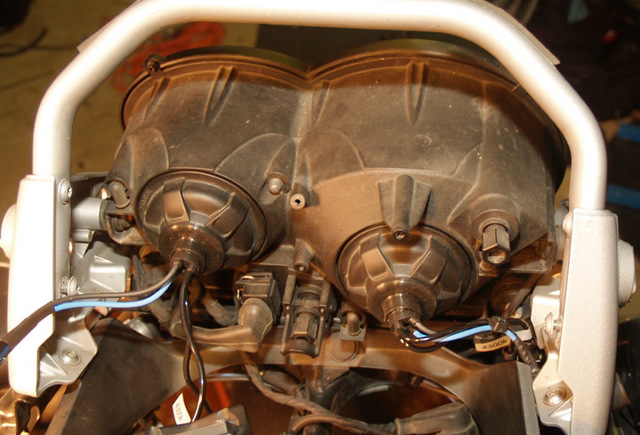
Here are both of them mounted. The wiring looks clean and secure in the caps.
Here is the right ballast mount. You can see it went to the screw holding the oil line.
This is the other mount, shown to illustrate the original shape. I bent it with pliars.
Now you can see it is a tight fit with the beak installed. But it is clean. I added some tie straps to secure the ballast to the mount, and firm it in place as well.
The right ballast fit in, and cleanly. With everything put back together, and the wiring secured, it is nearly invisible.
On the left side, the ballast goes into the same place. It is a tight fit, and you will have to play with it a bit, but it will fit. The slimmer ballast would have the advantage here.
Now lets take a look at the results:
Now lets take a look at the results:
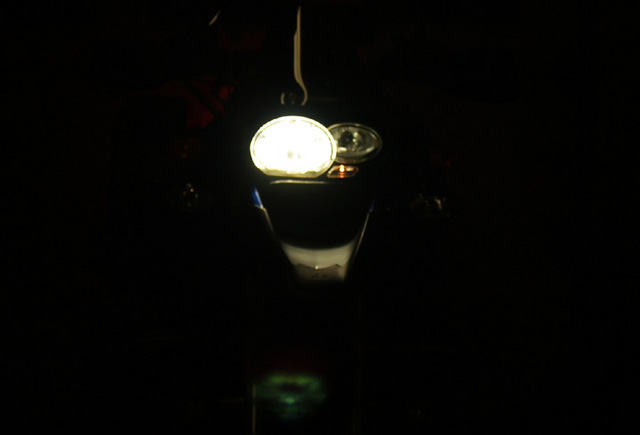
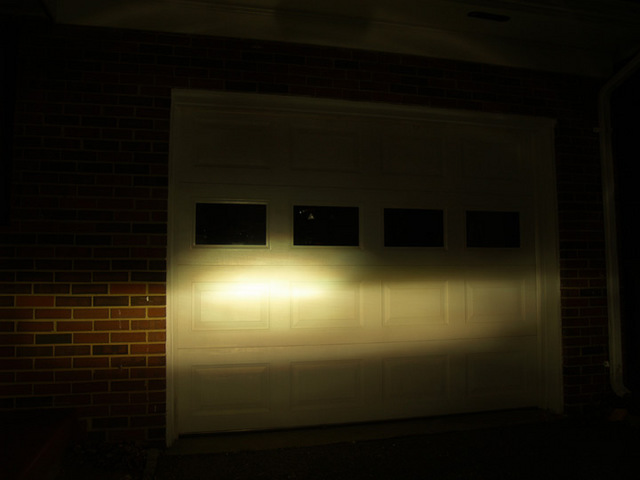
Low HID. Clean white, but not too blue. This is the 4300 kit.
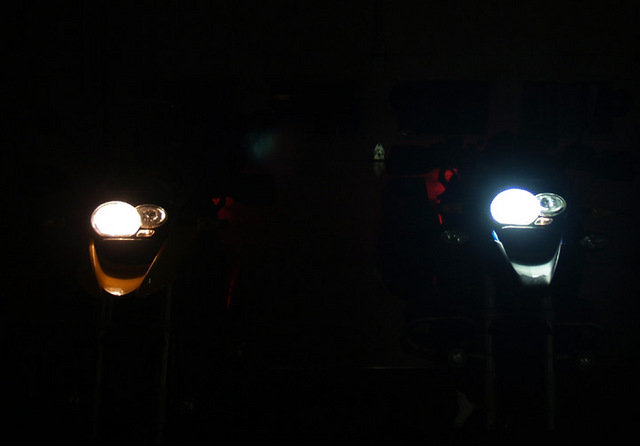
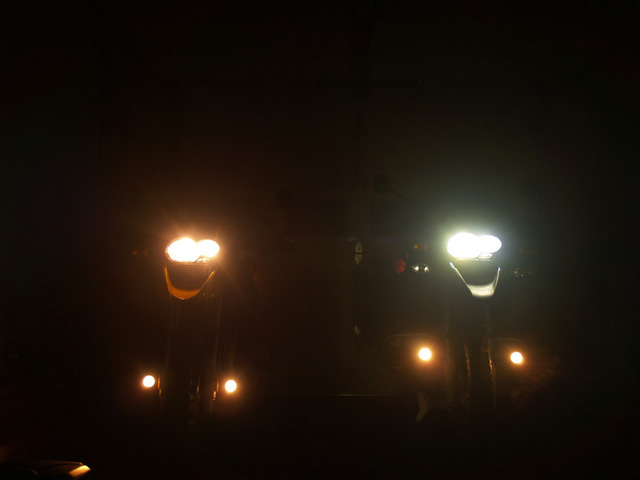
I then added a second GS, with Motolights, and compared them side-by-side.
Note that the bike on the left is completely stock with 35 watt Motolights. My bike has both HIDs, and 50 watt Motolights.
I then added a second GS, with Motolights, and compared them side-by-side.
Note that the bike on the left is completely stock with 35 watt Motolights. My bike has both HIDs, and 50 watt Motolights.
Low beam, you can see the difference here.
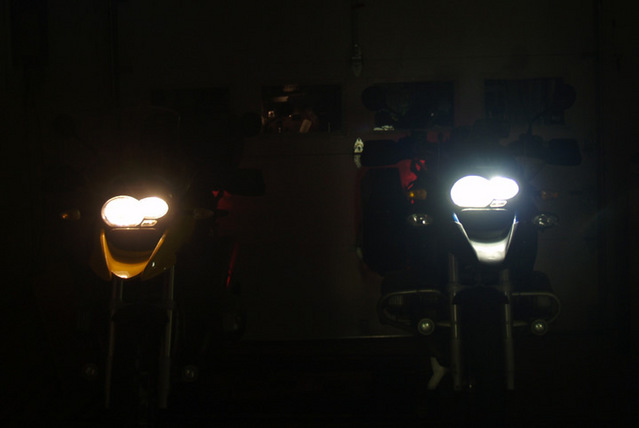
Both bikes with Motolights and High Beams.
It seems obvious to me, especially after riding at night, that the HID lights are definitely superior, and not as susceptible to dimming at idle with Gerbings and Servos going.
It seems obvious to me, especially after riding at night, that the HID lights are definitely superior, and not as susceptible to dimming at idle with Gerbings and Servos going.
High beam, even more obvious.
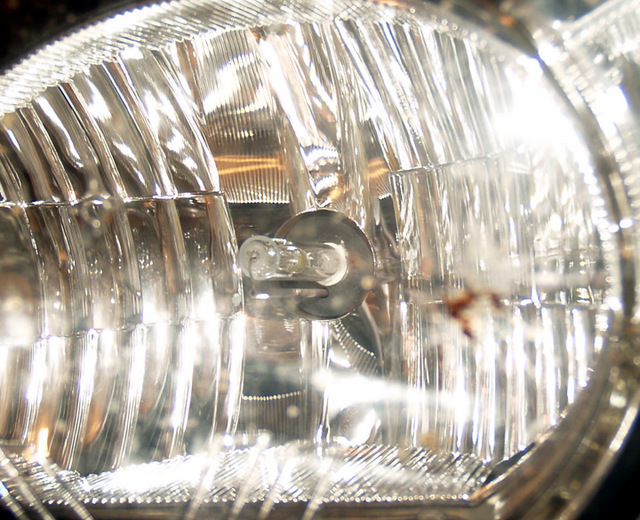
Here is what the bulb looks like installed in the low beam.
Don�t forget to keep the old H7 bulbs, just in case. This procedure is completely reversible, and if an HID goes out, you can swap in the old H7 in minutes.
Rick (Gadgetboy on ADV) got an HID kit from: www.xenonrider.com and he offers you the slim line ballast, which would be ideal in a tight fit like this.
I installed a kit with the slim ballasts on a friend's bike, and it is another way to go, if you don't mind the cost.
The new kits like mine and my friend's kits, do not need any additional wiring. You simply unplug the stock bulb, plug the HID kit to the stock plug, and you have light! No need for any more wiring, tank removal, or relays. In fact, though my pics show it, you don't even need to remove the beak or instrument pannel. I just did it because I filmed it for my Accessories DVD!
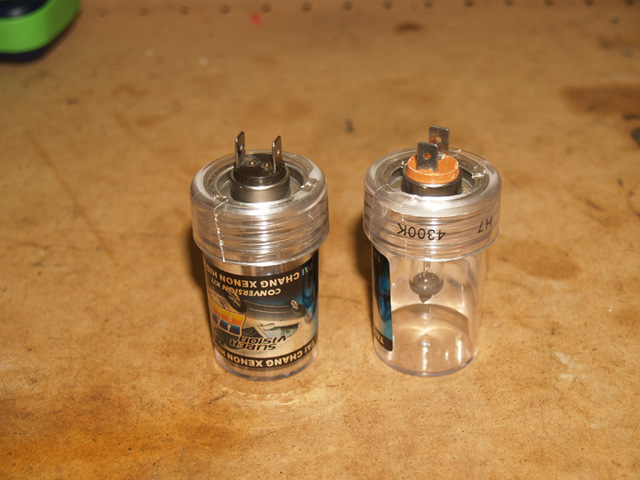
Here is the slim one, Next to my fat one.
Mount for the slim ballast.
Mounted with double sided tape and a screw.
Igniter, zip-tied to the back of the ballast.
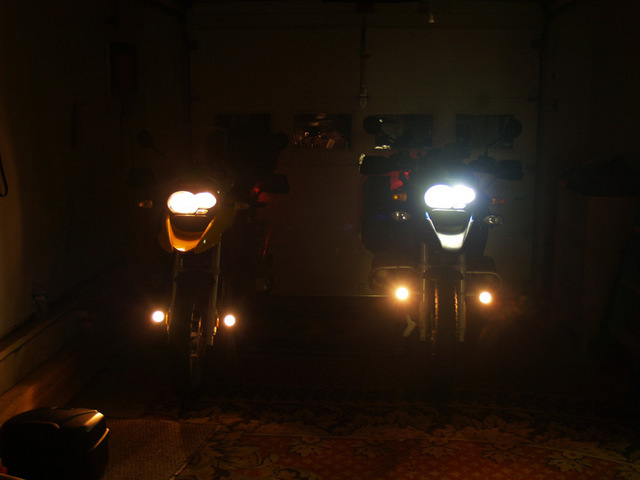
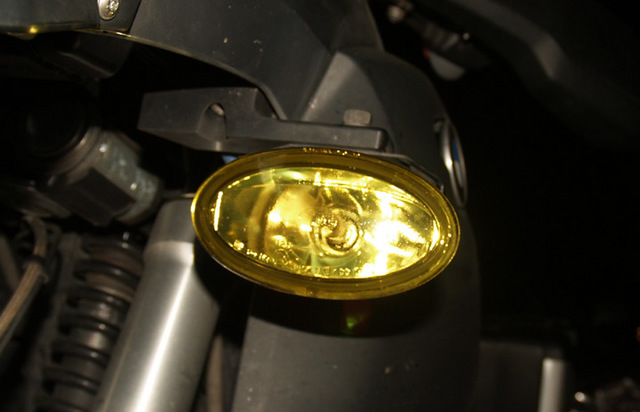
My friend Kermit came over and showed off his newly yellow colored Hella FF50 Lights.
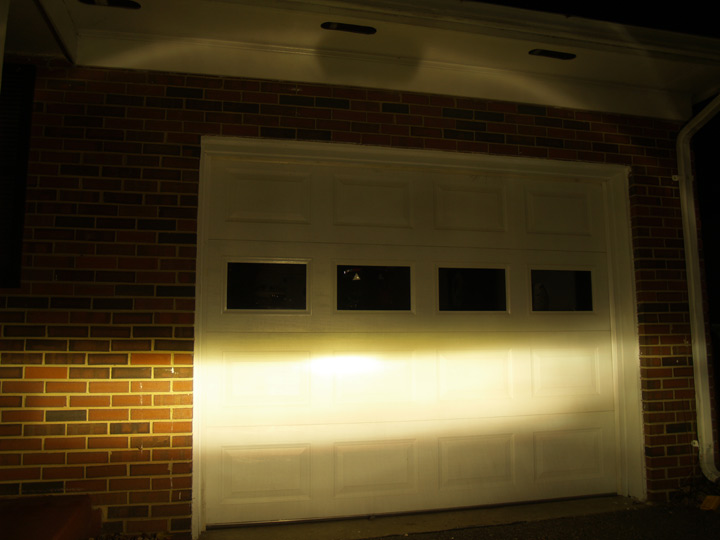
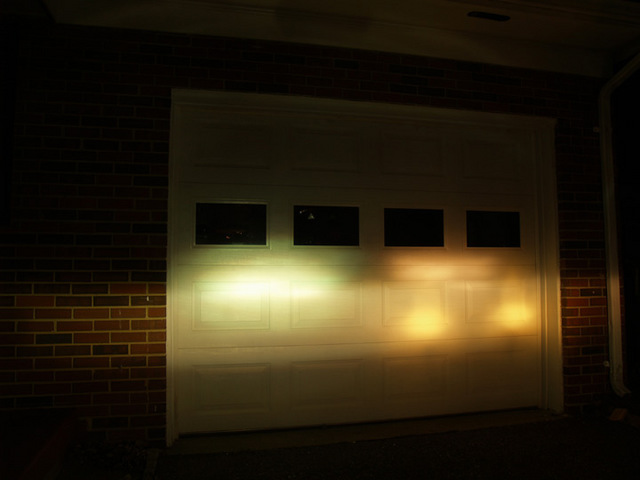
I thought it a good opportunity to compare lights on each bike, so the following is my demo on my garage door.
My friend Kermit came over and showed off his newly yellow colored Hella FF50 Lights.
I thought it a good opportunity to compare lights on each bike, so the following is my demo on my garage door.
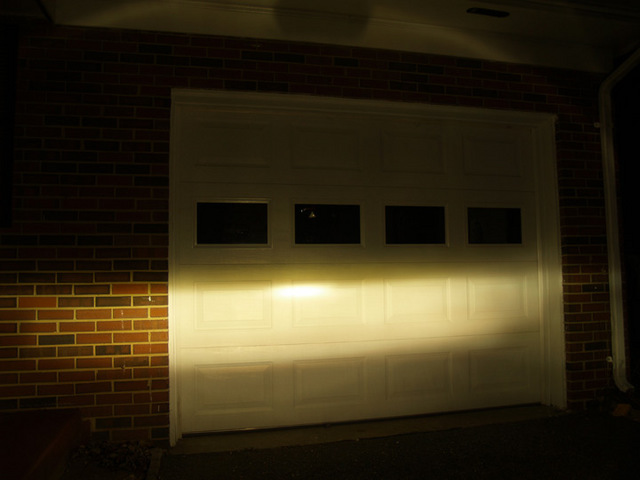
HID Low beam only
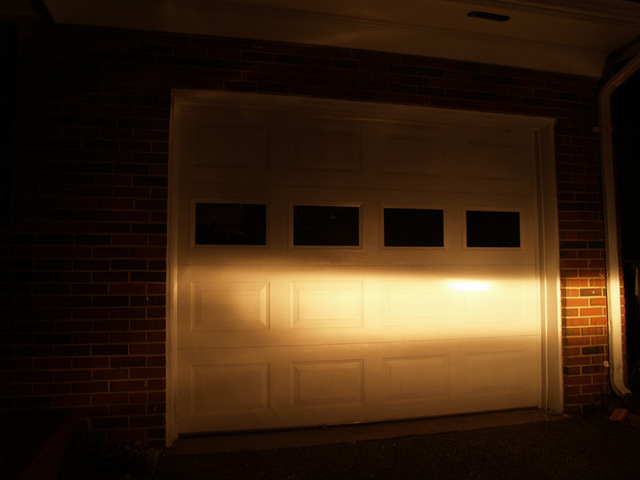
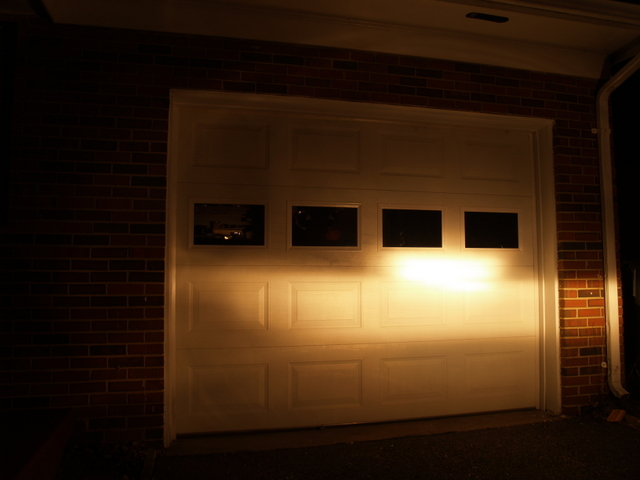
Stock Low beam only
HID Low and High beam
Stock Low Beam (Note, Kermit has removed the cover on the tip of the bulb for better light).
Kermit's "yellow" FF50, painted with craft store spray stained glass window paint, I later did the same to my Motolights.
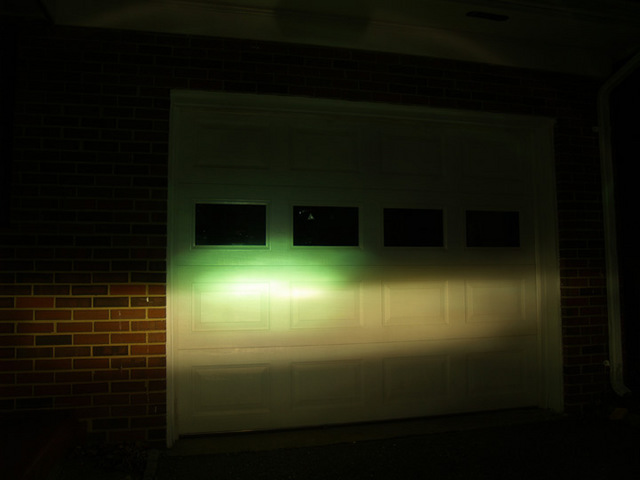
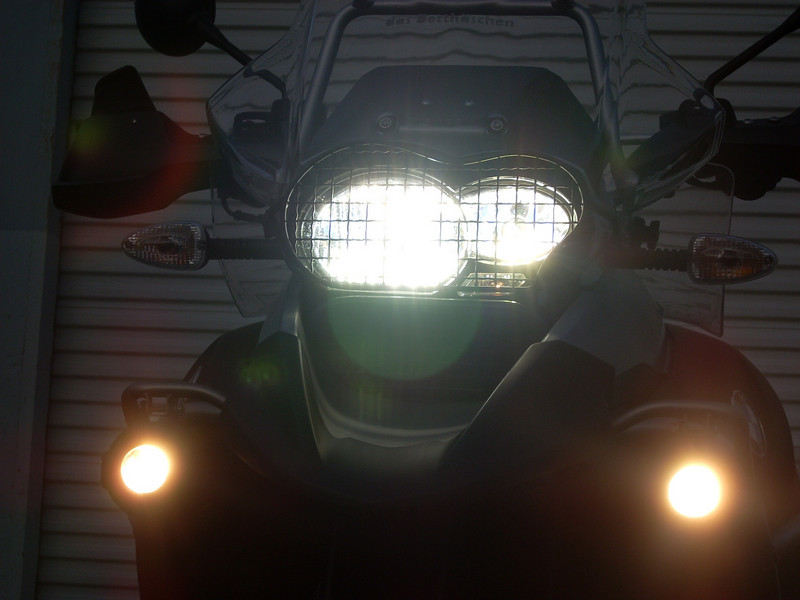
HID (left) and stock, both High Beams, with yellow FF50s on the right.
As you can see the beam for the HID light is slightly more scattered, mostly horizontally, but has a very similar line and height. I am very confident that the HID wont be blinding.
As you can see the beam for the HID light is slightly more scattered, mostly horizontally, but has a very similar line and height. I am very confident that the HID wont be blinding.
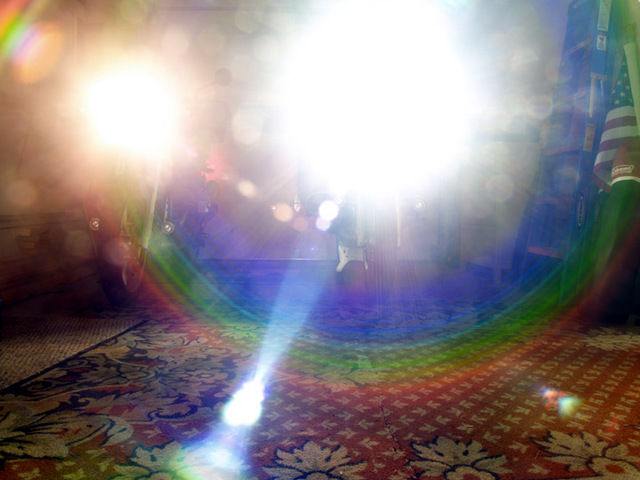
This is an example of a cold flash to pass. The High Beam HID was dead cold, and I flicked it on. When warm from recent use, it is VERY much brighter on Flash to Pass mode.
Also, for those concerned about excessive flood of light outside of the beam pattern, here is what you get.
Virtually identical to the stock amount of scattered light.
Just a note, these are unretouched photos, and the camera made some adjustments based on the amount of light.
The HID lights were significantly brighter than the pictures showed, but if you look at this picture:
Virtually identical to the stock amount of scattered light.
Just a note, these are unretouched photos, and the camera made some adjustments based on the amount of light.
The HID lights were significantly brighter than the pictures showed, but if you look at this picture:
You can get a better feel for the differences.
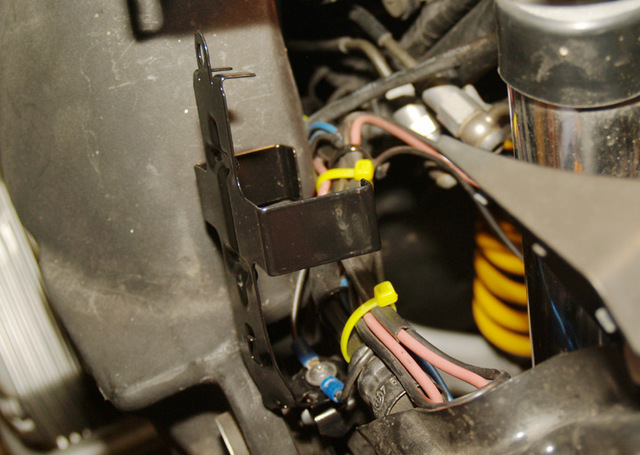
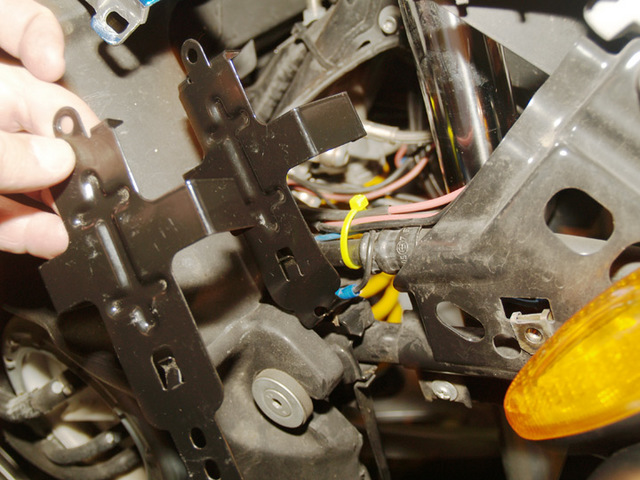
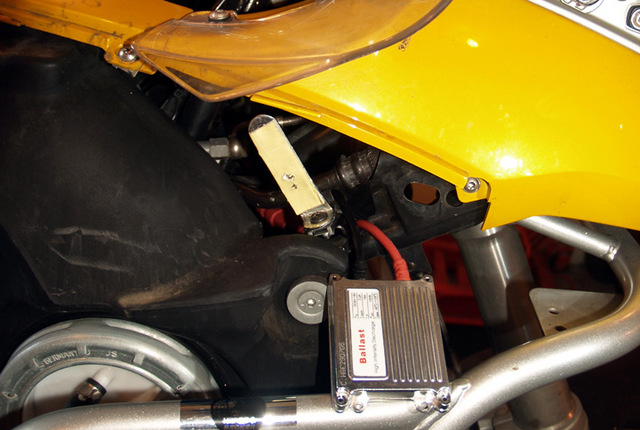
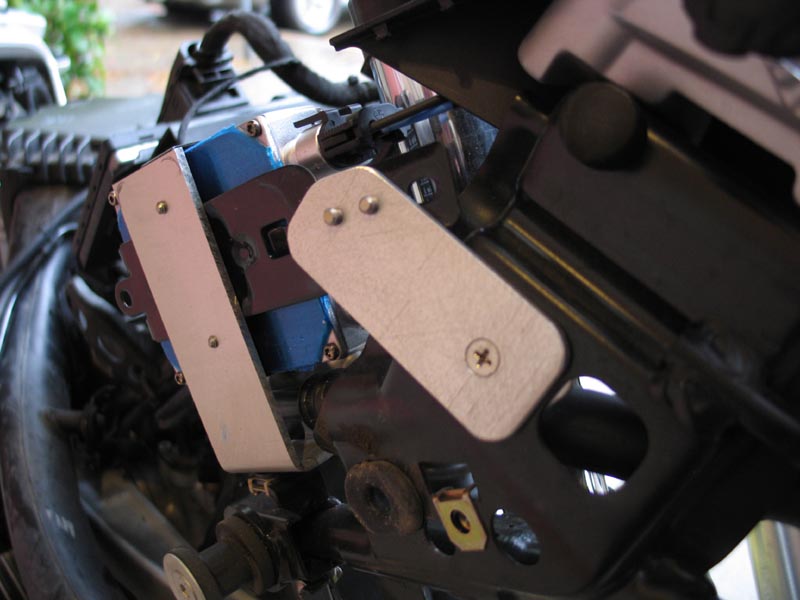
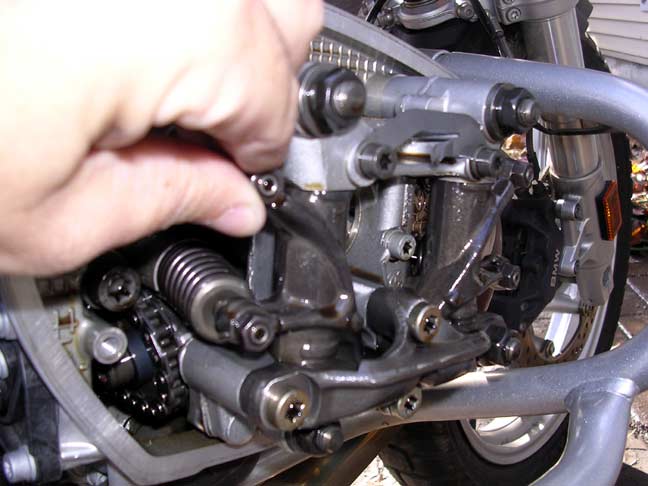
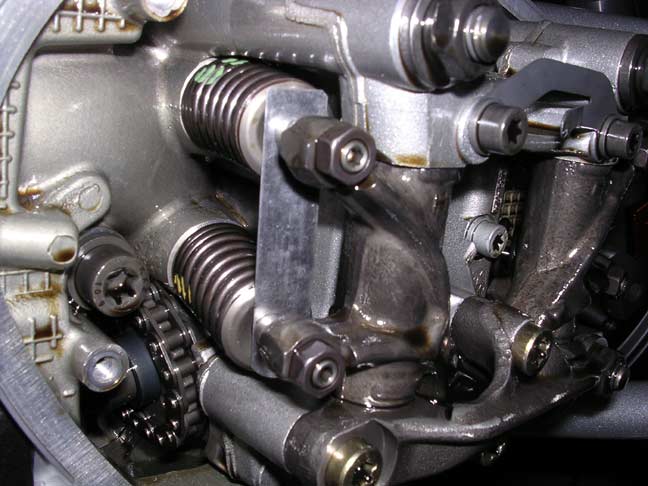
From a post on ADV Rider [thingbuilder]I took these photos a while back and thought they might be a good reference for this thread. My used '05 R1200GS came with a Touratech high beam HID aux light and ballast. I decided to make a similar mount for the low beam HID ballast. The material is some scrap .120 aluminum. A couple of zip ties were added for insurance. I had the tank off when I did the work but it wasn't necessary for this. This is probably overkill but may be of some help.
From a post on ADV Rider [thingbuilder]I took these photos a while back and thought they might be a good reference for this thread. My used '05 R1200GS came with a Touratech high beam HID aux light and ballast. I decided to make a similar mount for the low beam HID ballast. The material is some scrap .120 aluminum. A couple of zip ties were added for insurance. I had the tank off when I did the work but it wasn't necessary for this. This is probably overkill but may be of some help.
Well done!
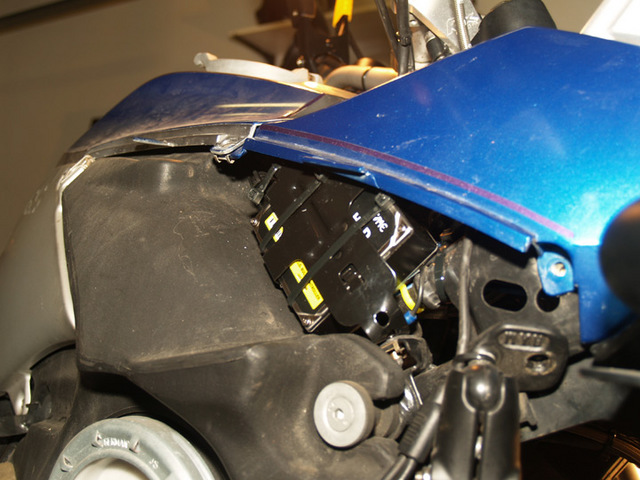
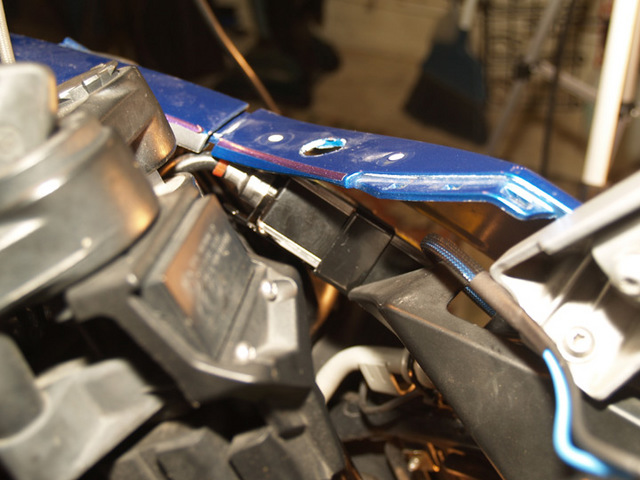
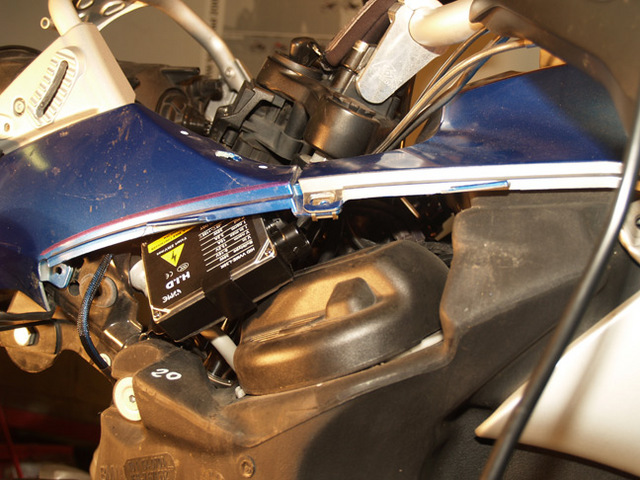
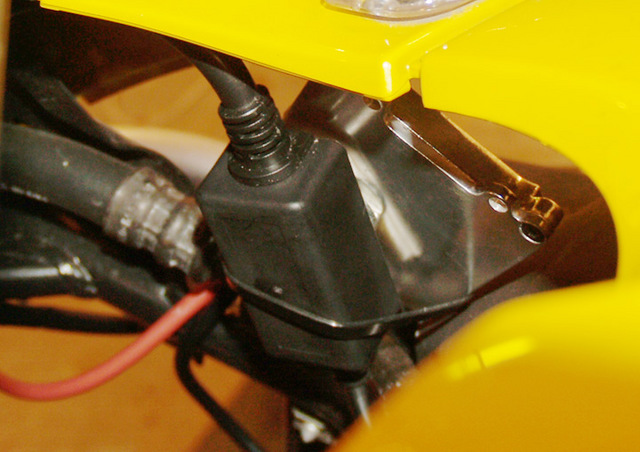
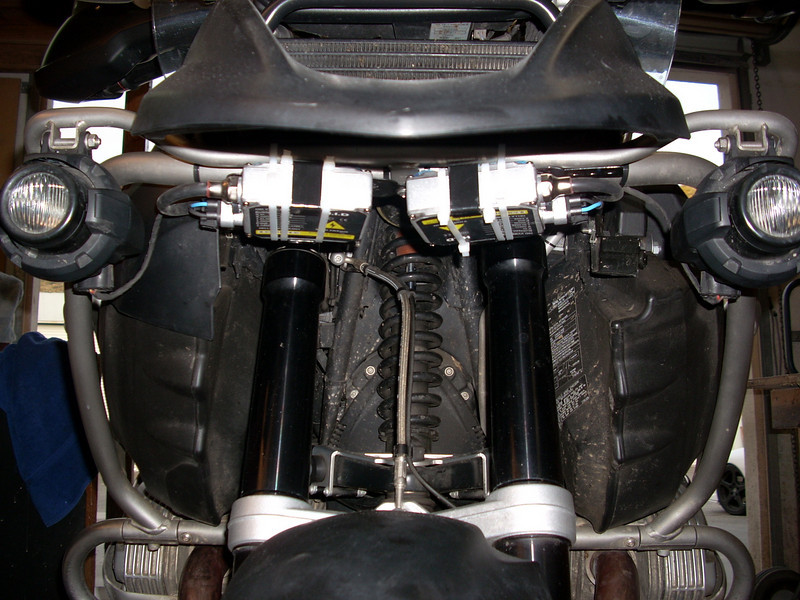
Also from ADV Rider [rsimpson]
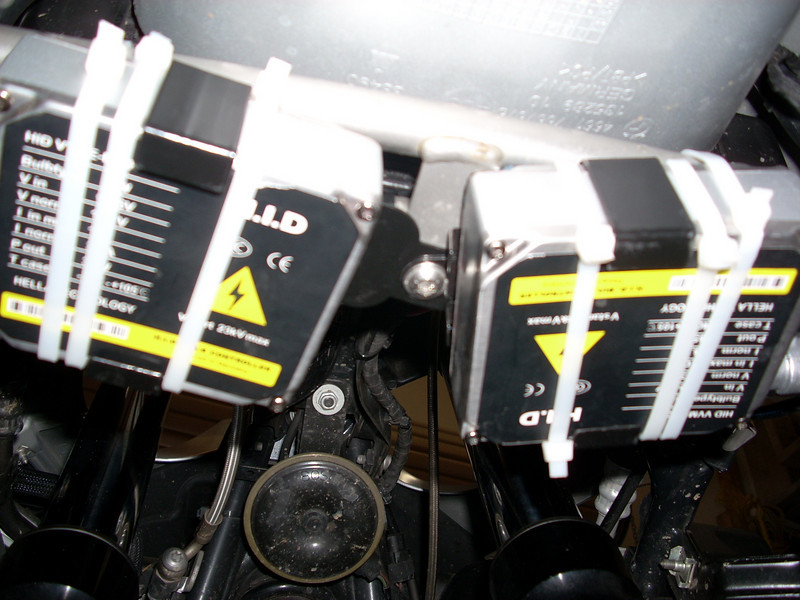
Did this today. Provides another option for ballast location: Under the beak. It is definitely more susceptible to the elements here, but I'll keep an eye on things and report back issues, if any.
You can see that the ballasts are mounted using the existing bolt from the lightbar. The tabs from both ballast mounts overlap. Used 2 zipties to hold the ballast to the mount, and one ziptie to hold the other side of the ballast to the light bar. Not exactly pretty, but it works.
Also from ADV Rider [rsimpson]
Did this today. Provides another option for ballast location: Under the beak. It is definitely more susceptible to the elements here, but I'll keep an eye on things and report back issues, if any.
You can see that the ballasts are mounted using the existing bolt from the lightbar. The tabs from both ballast mounts overlap. Used 2 zipties to hold the ballast to the mount, and one ziptie to hold the other side of the ballast to the light bar. Not exactly pretty, but it works.
Thanks for all the input guys!
Download a PDF of this process!
Download a PDF of this process!


JVB Productions
Motorcycle Maintenance and Repair Videos

Video of HID Results