


� 2019 JimVonBaden/JVB Productions
�
R1200 Shock Install:
Caution: This pictorial is for informational purposses only. I accept no responsibility for accuracy, or any damage caused to your motorcycle if you choose to perform these procedures.
The following is the procedure for replacing your shocks with aftermarket units. It was done on an R1200GS, but the procedures are very similar for the RT/ST/R and the R1100/1150 bikes as well.
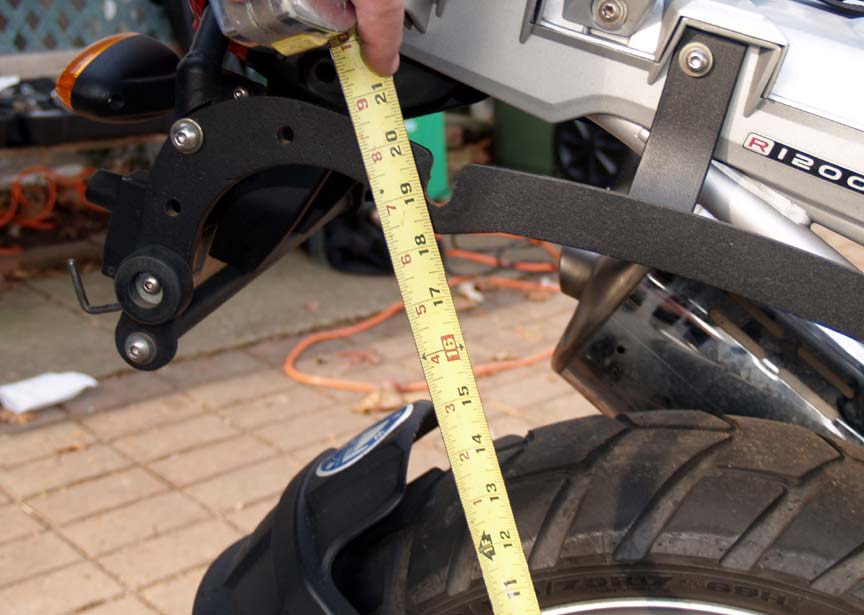
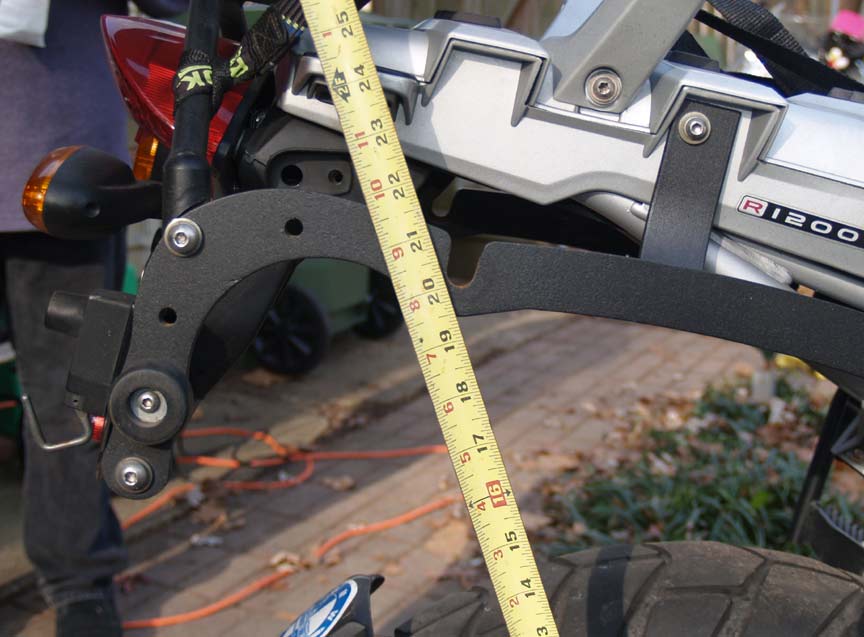
We took a few measurements of the bike before making any changes.
Caution: This pictorial is for informational purposses only. I accept no responsibility for accuracy, or any damage caused to your motorcycle if you choose to perform these procedures.
The following is the procedure for replacing your shocks with aftermarket units. It was done on an R1200GS, but the procedures are very similar for the RT/ST/R and the R1100/1150 bikes as well.
We took a few measurements of the bike before making any changes.
Rear Loaded
Rear unloaded
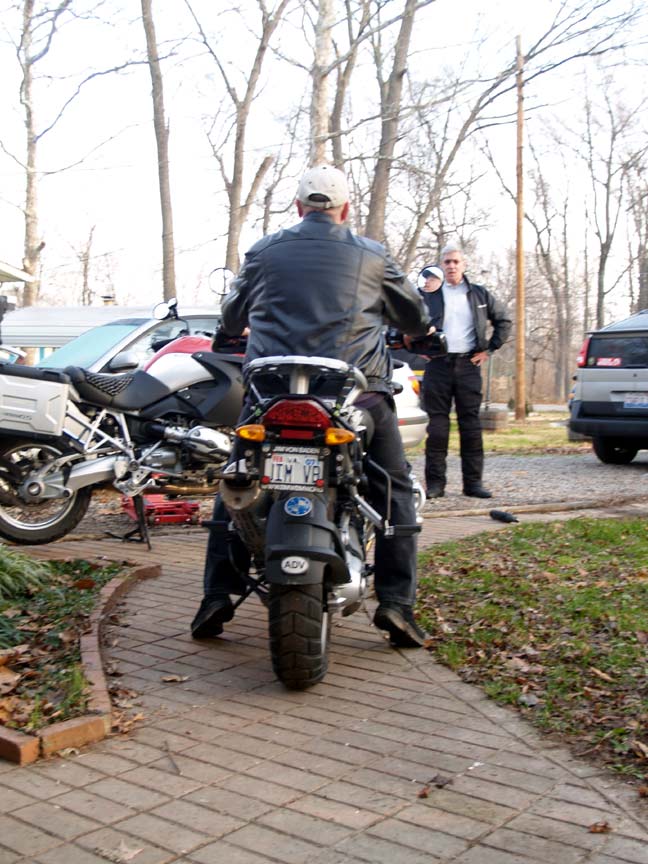
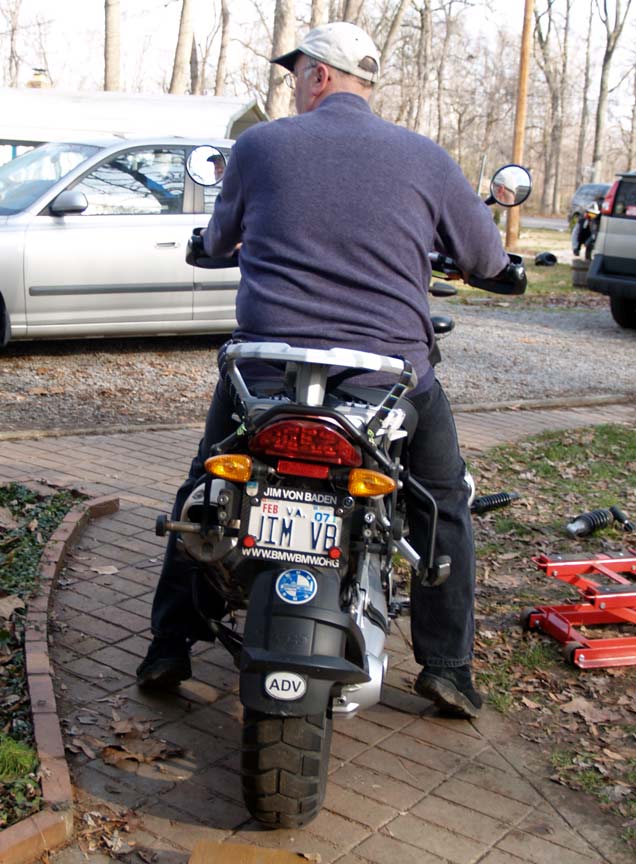
Me on it, showing what a 28� inseam looks like.
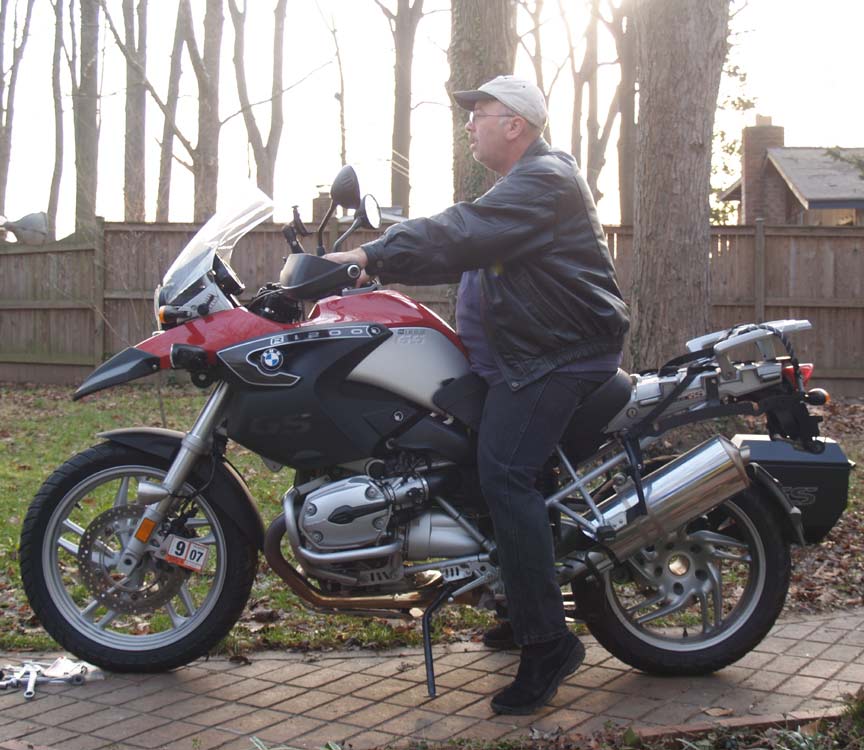
From the side. I am a short FF, aren�t I?
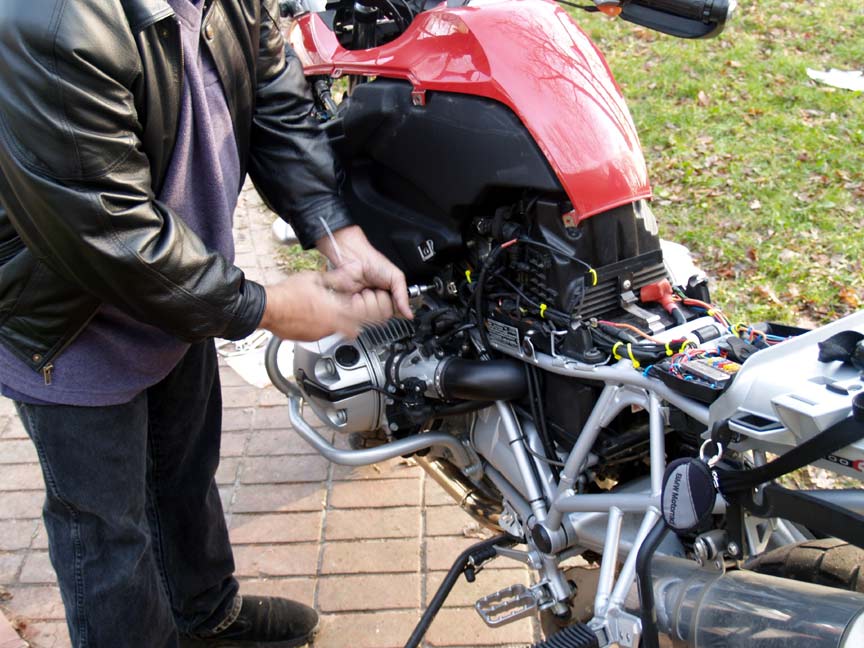
First remove the bags and side covers.
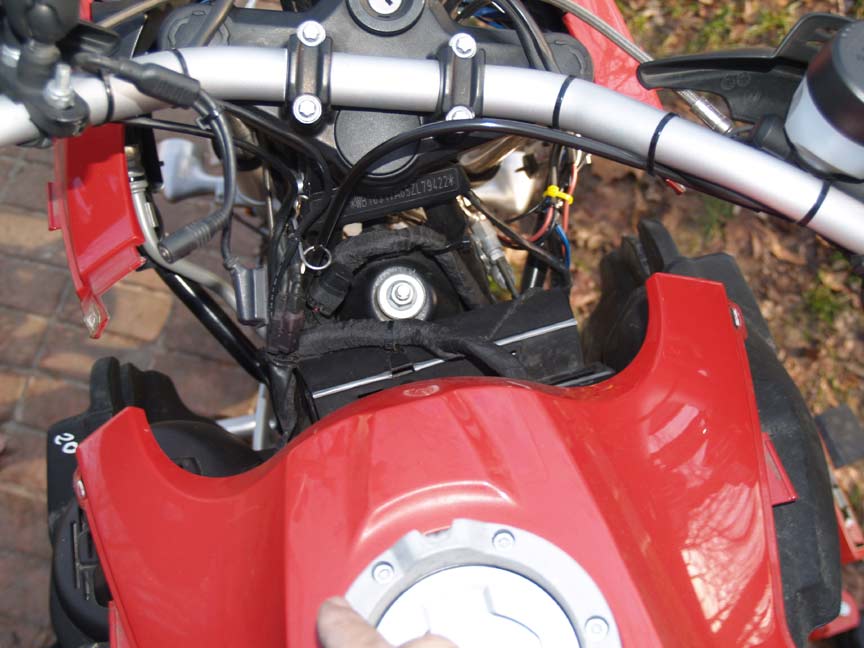
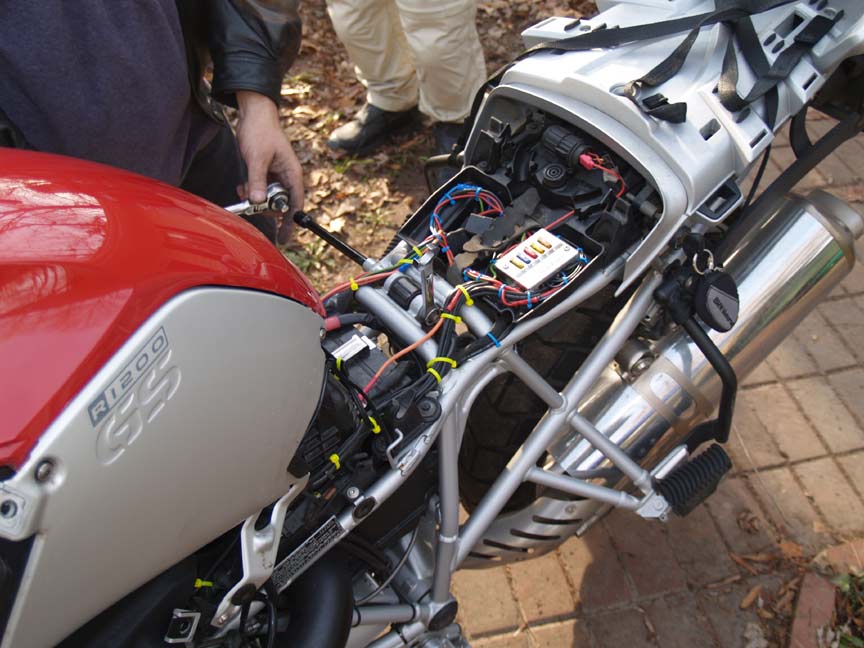
Next remove the tank bolts, and slide the tank back about 3-4�. No need to disconnect any hoses or wires.
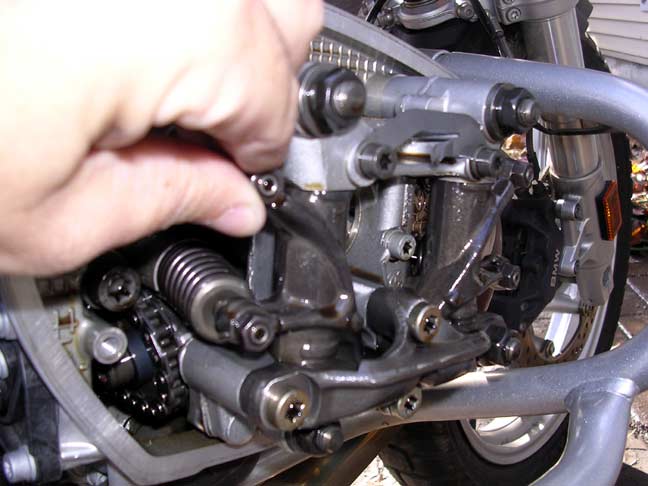
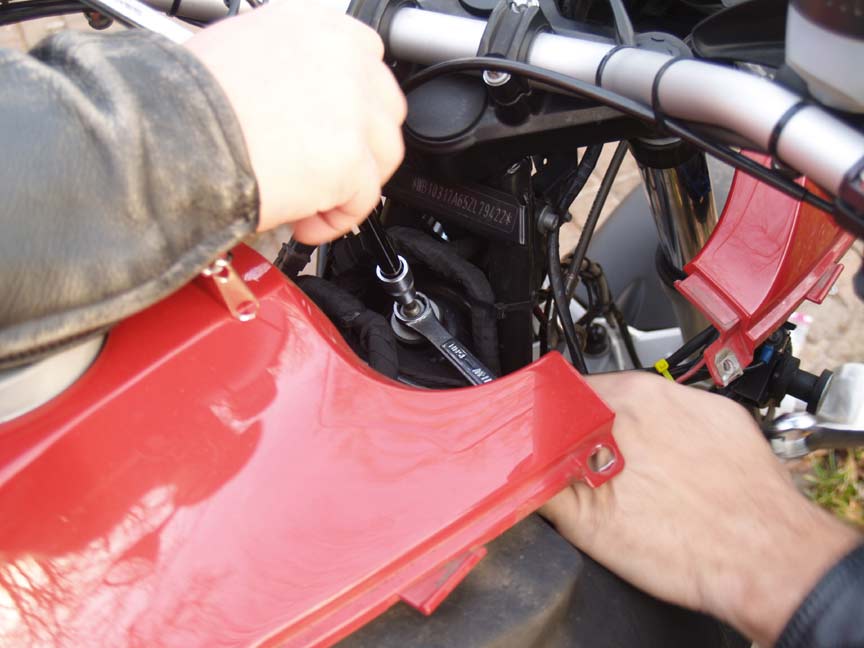
Using a 15mm wrench and a 5mm Allen, remove the top nut.
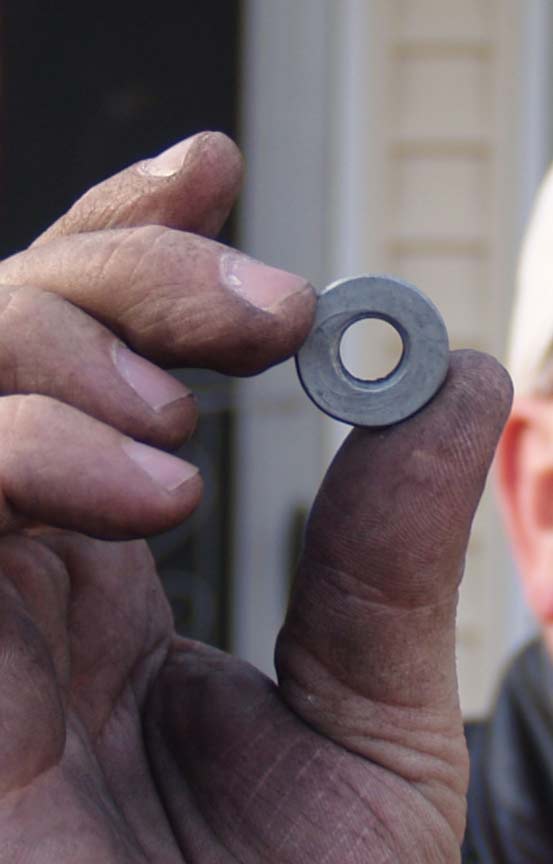
Removing the top nut. You can leave the rubber washer, and steel sleeve in place.
I left the rear bottom bolts loose, but in place, and dropped the bars down forward.
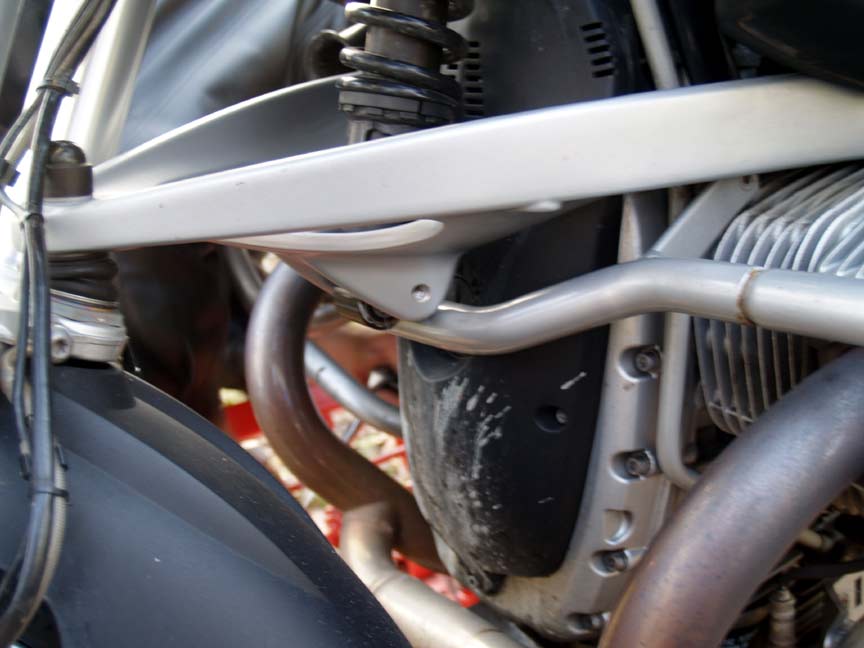
I found the crash bar, H&B or BMW, removal or moving was necessary to allow the Telelever to drop down enough.
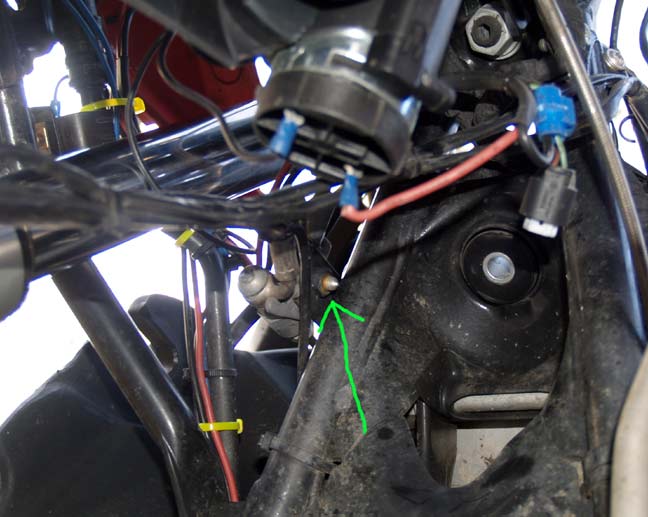
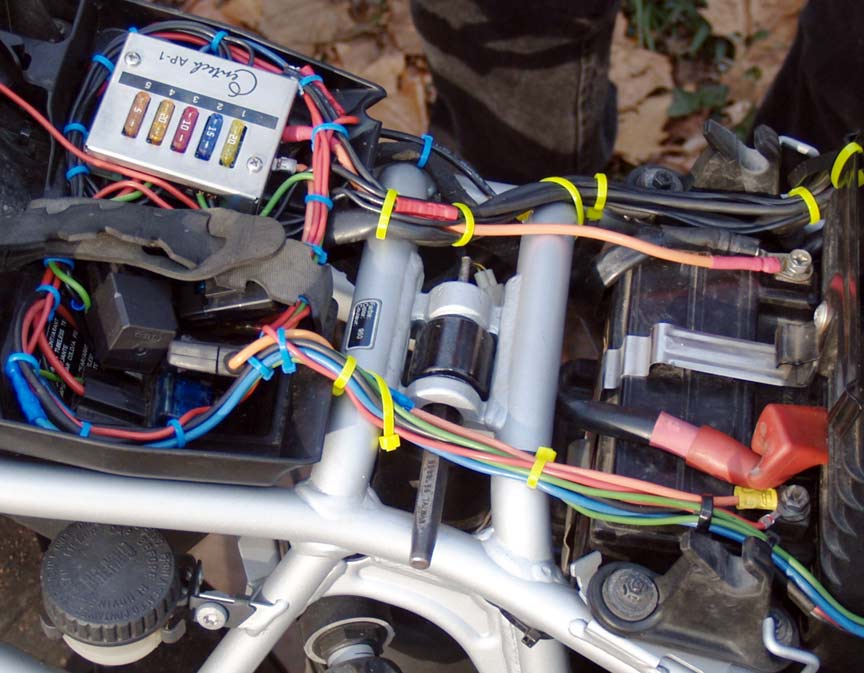
To relieve the brake line strain you need to remove the bolt holding the brake line bracket at the hard line.
If you remove this bolt, and let the rubber brake lines sag a bit, it will remove the tension, and you can continue with the shock removal without risking damage to the lines.
The back side of the bracket bolt.
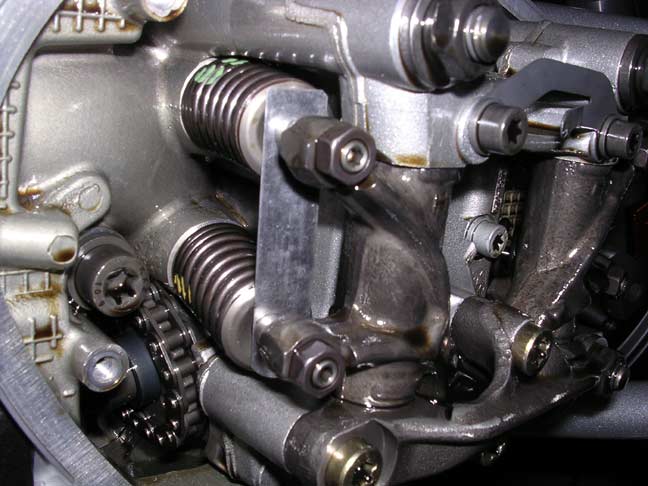
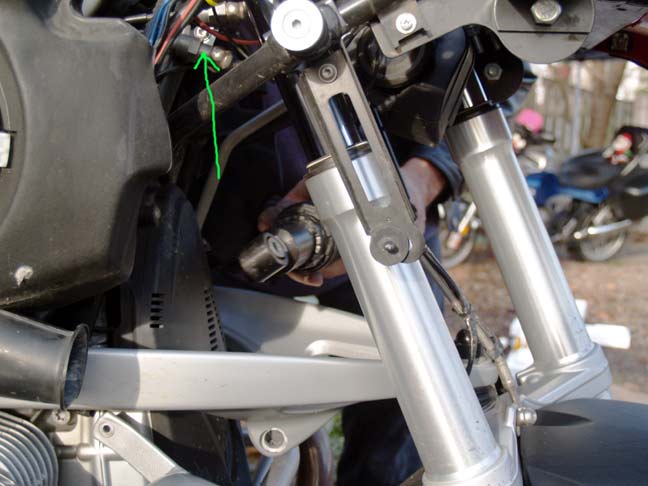
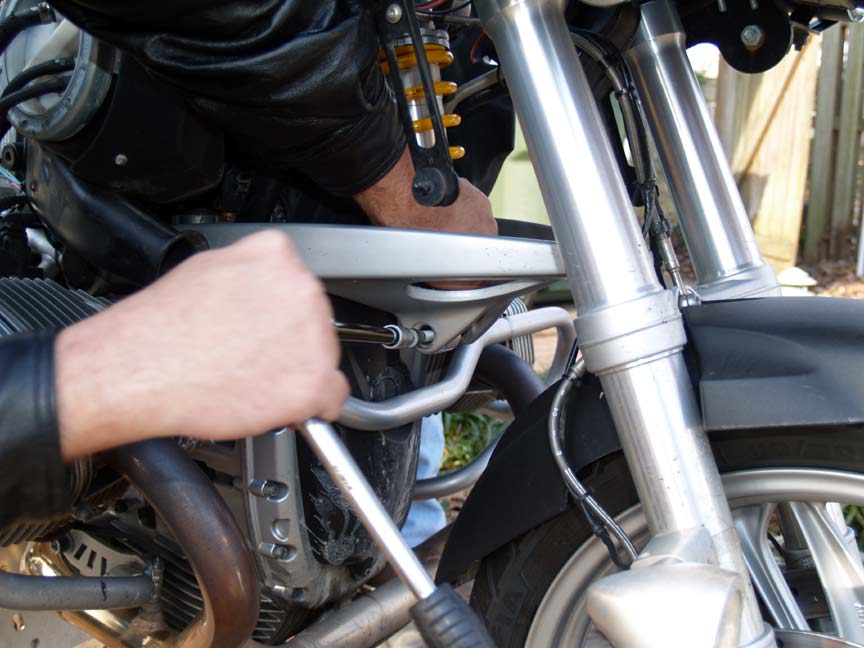
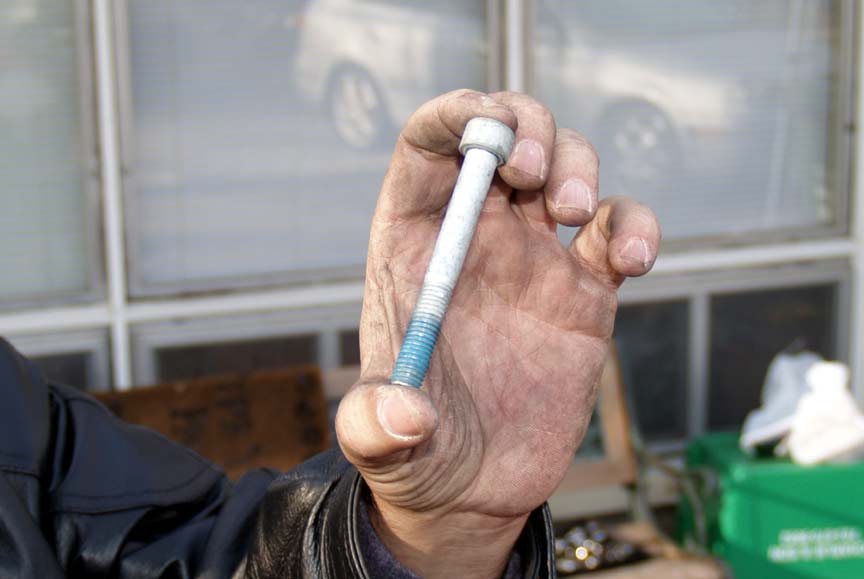
Remove the lower shock bolt. Looked like it had a dry anti-seize on it, but no heat needed.
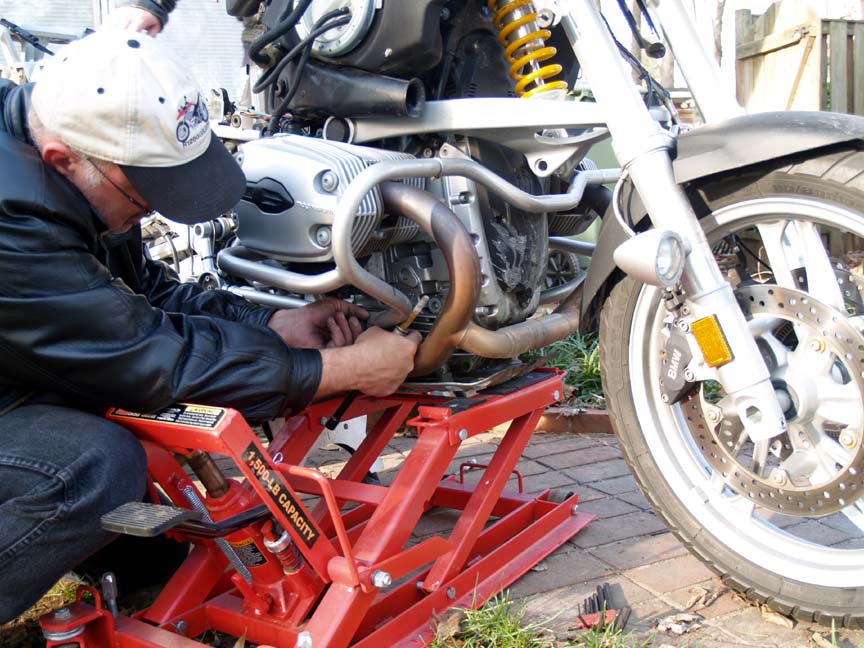
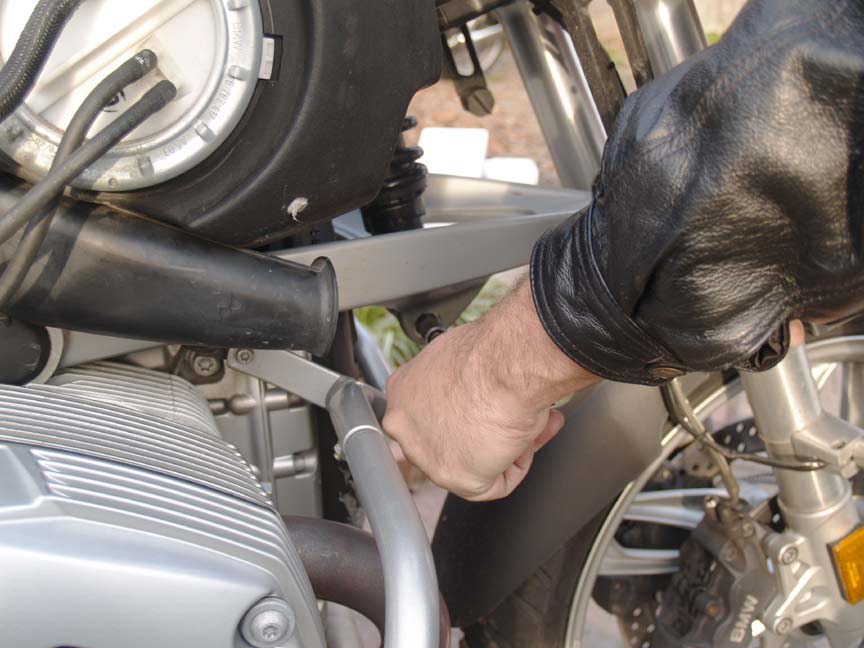
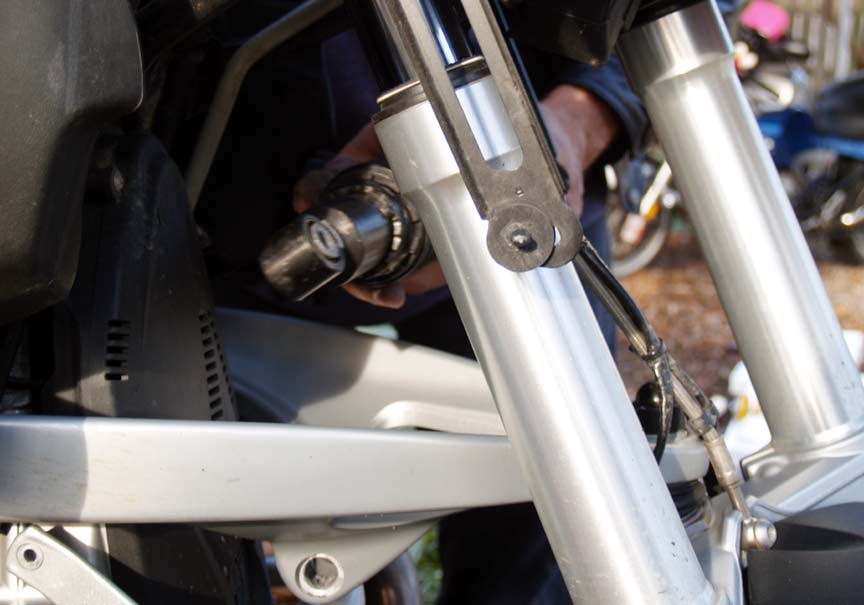
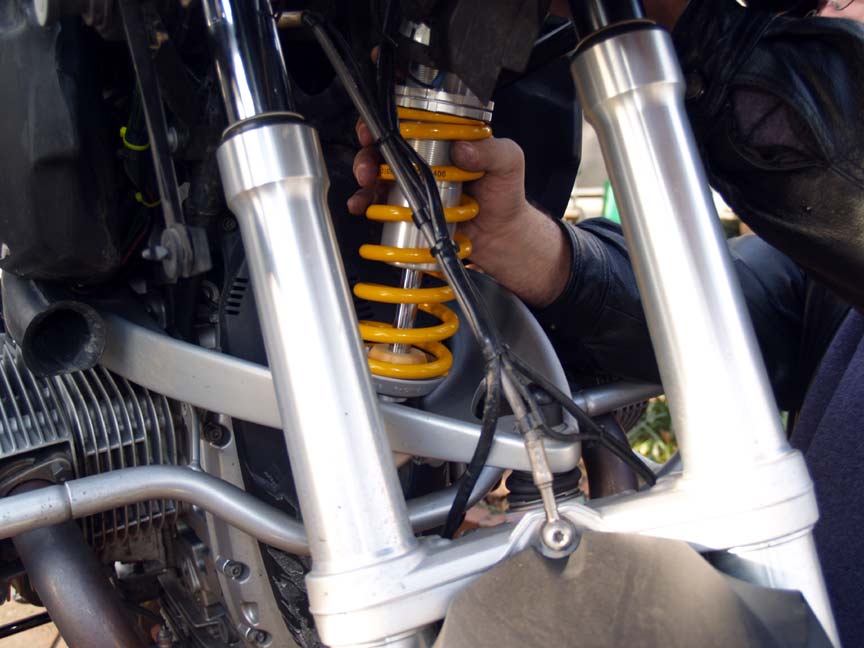
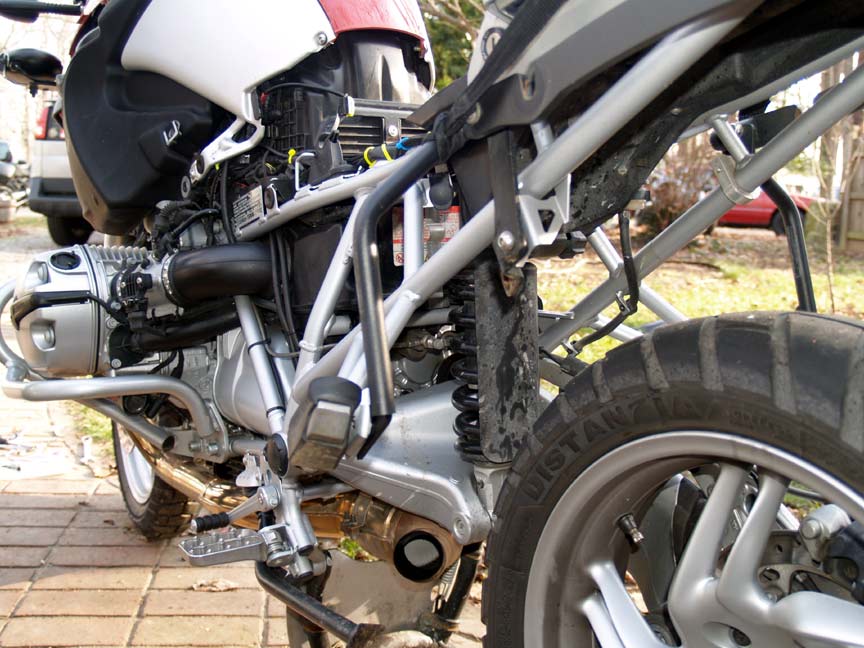
This shows the front shock loose, but in place. You need to jack the front of the bike a little, put your foot on the rim, and pull up on the frame near the beak to make the Telelever droop enough to get the shock off. (Note, the crash bars had not been moved in this picture) Some find it necessary to remove the alternator belt cover as well.
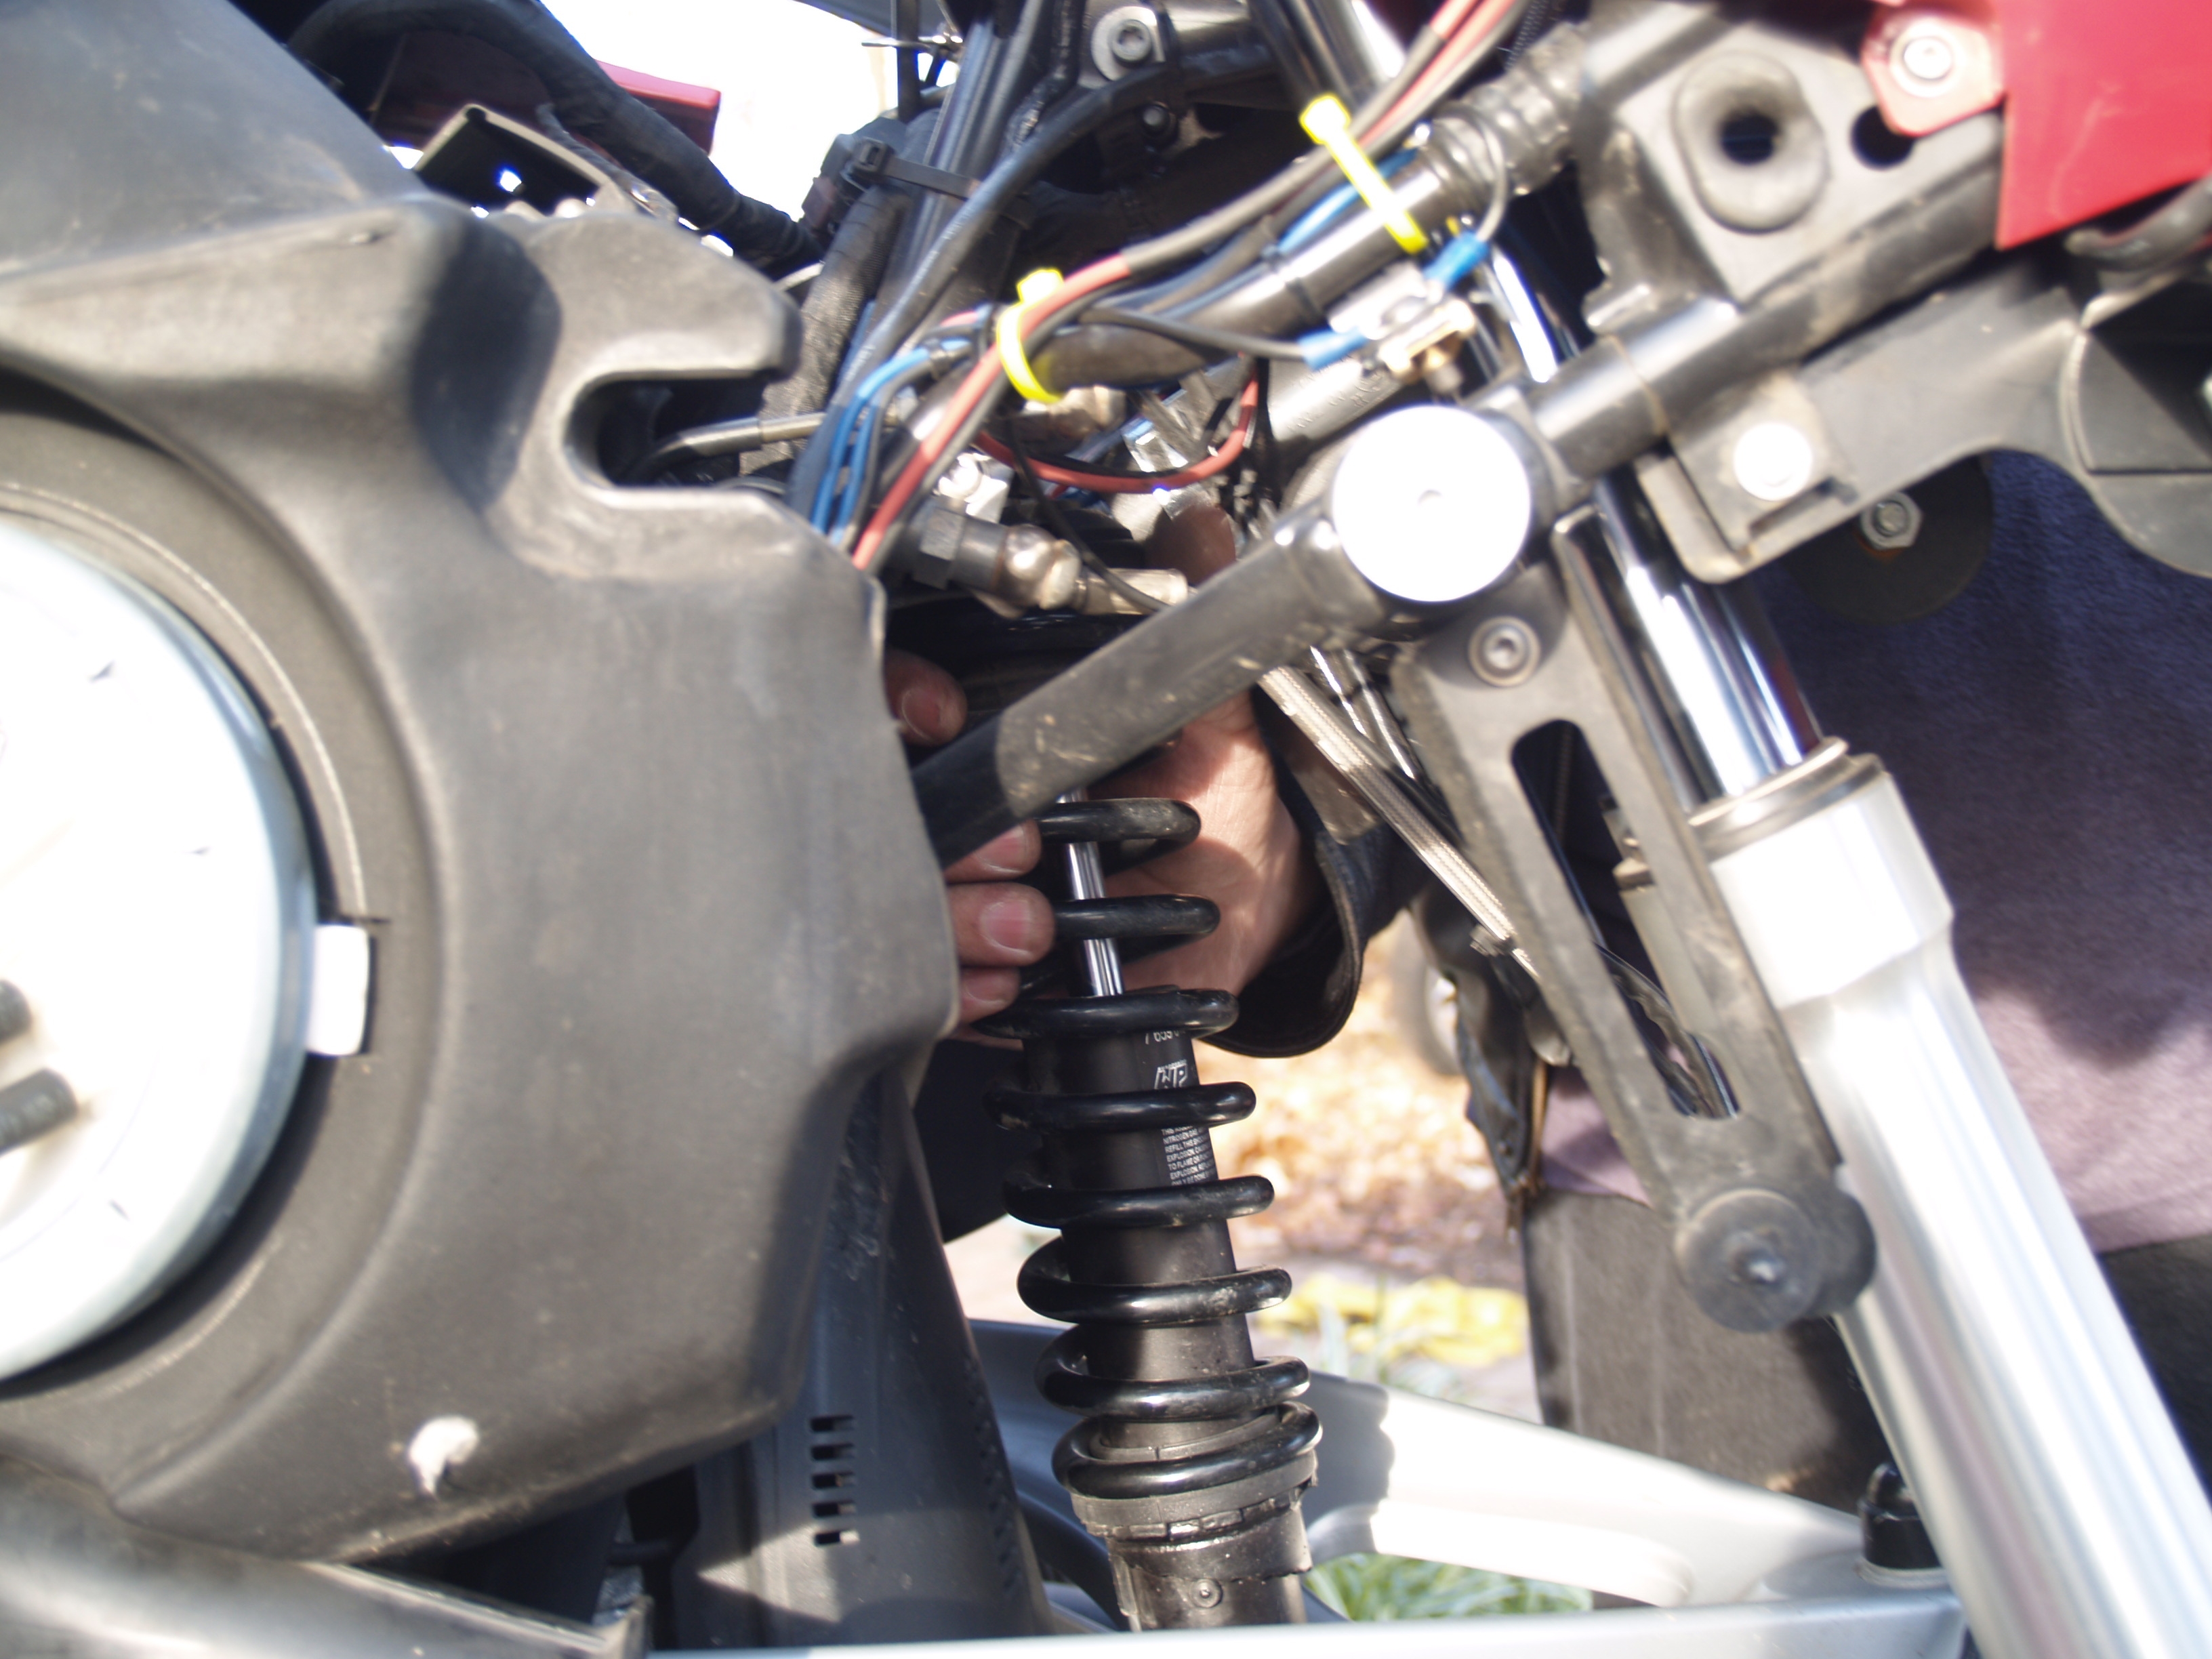
It is tight, but the front shock will come out past the hoses and wires. Just be gentle and careful.
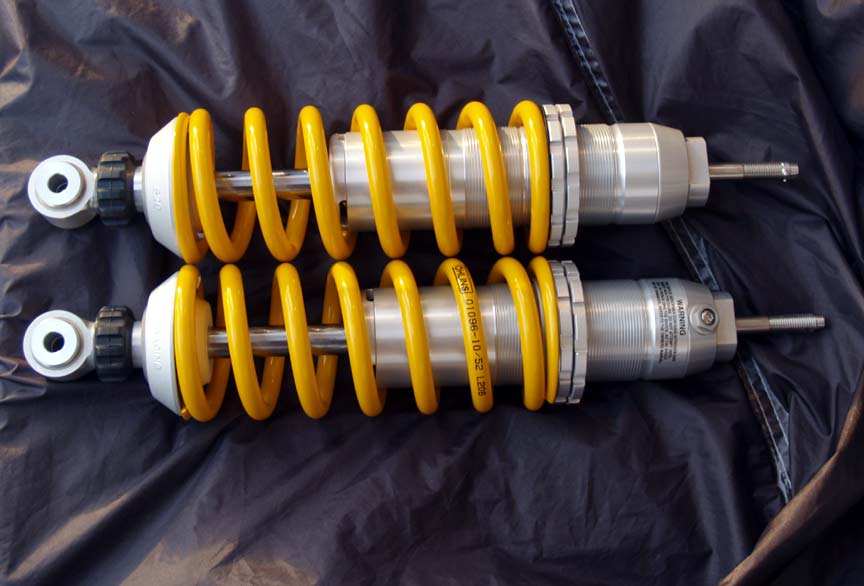
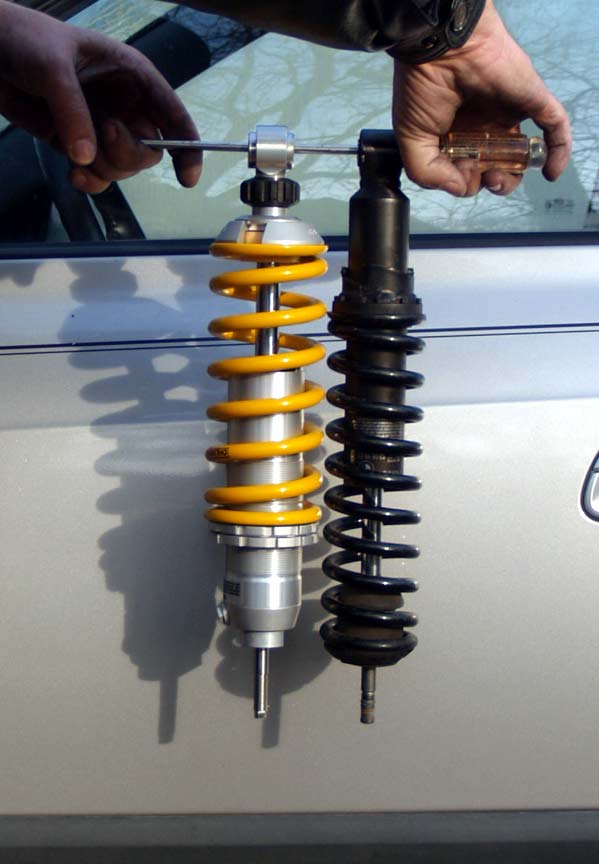
Since we were doing two bikes, we were able to compare the front .5� lower (top), to a stock height Ohlins. It looked like the same shock but apparently was not.
See how the adjusters are moved? The numbers on the shocks were the same, but, of course, different weight springs.
See how the adjusters are moved? The numbers on the shocks were the same, but, of course, different weight springs.
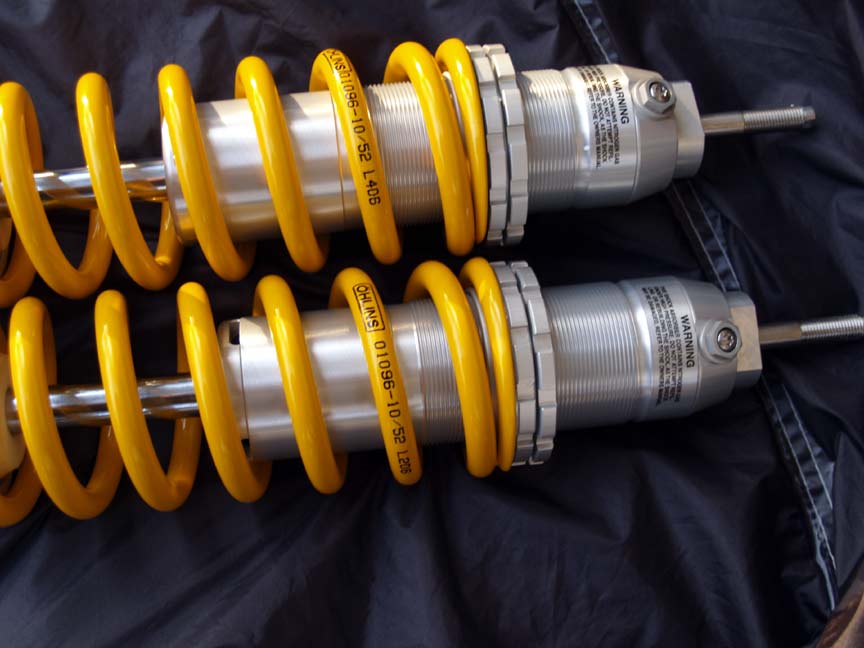
Another view.
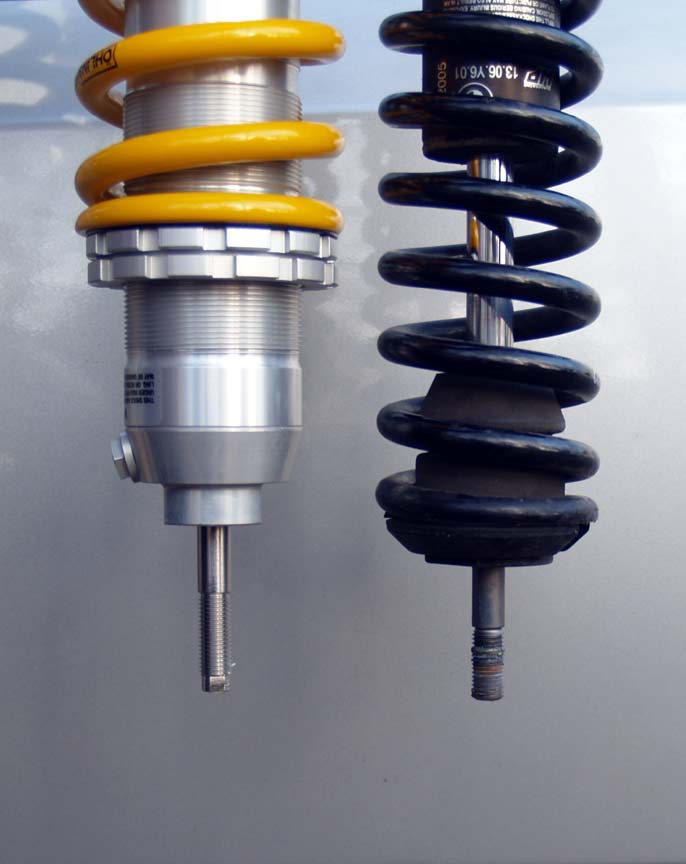
Comparred to a stock WP shock. It is definitely shorter.
Might be able to see the differences better here.
Carefully thread the shock past the wires and hoses. Note that the springs are larger around, and it makes it tight, but it fits. On the first bike we removed the belt cover to get clearance, but realized on mine that it wasn�t necessary.
I put the top nut on first, and it left a gap.
To get the bottom in we ended up having to take the bike off the centerstand and push the forks down hard until they unstuck, sticktion. This is common on a BMW, but it didn�t hurt anything.
To get the bottom in we ended up having to take the bike off the centerstand and push the forks down hard until they unstuck, sticktion. This is common on a BMW, but it didn�t hurt anything.
Clean the lower bolt and reinstall it. I used nothing on the threads, but the book says to use High-temperature assembly grease. Mine was dry, so it stayed that way. 40NM tightening torque.
Tighten the top nut with a 15mm wrench on the nut, and a 7mm wrench on the shock flats. Use blue locktight, and tighten to 34NM.
Reinstall the brake line bracket bolt, tank, side panels, and little side pannels.
Time, about 45 minutes. But you really need a helper.
Next came the rear. Not bad, easier than the front.
Reinstall the brake line bracket bolt, tank, side panels, and little side pannels.
Time, about 45 minutes. But you really need a helper.
Next came the rear. Not bad, easier than the front.
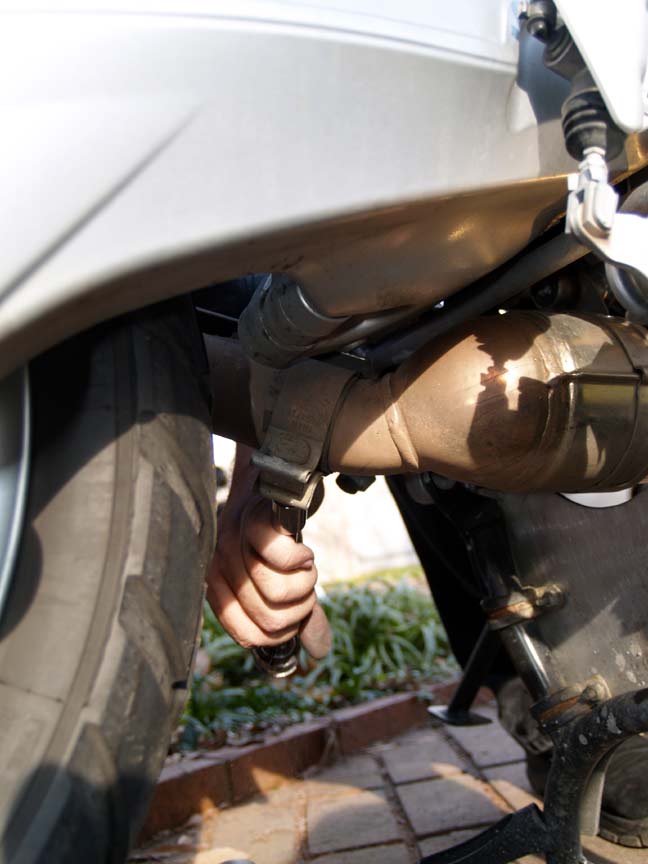
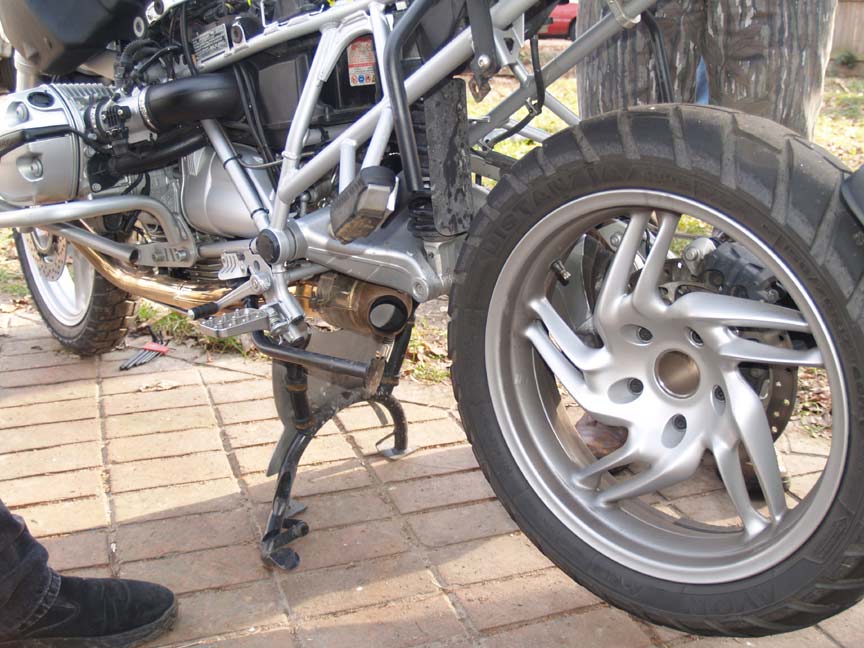
The muffler must come off to allow clearance to the lower shock bolt, and easier removal of the shock. Loosen the muffler clamp.
Remove the upper muffler bolt.
Remove the muffler.
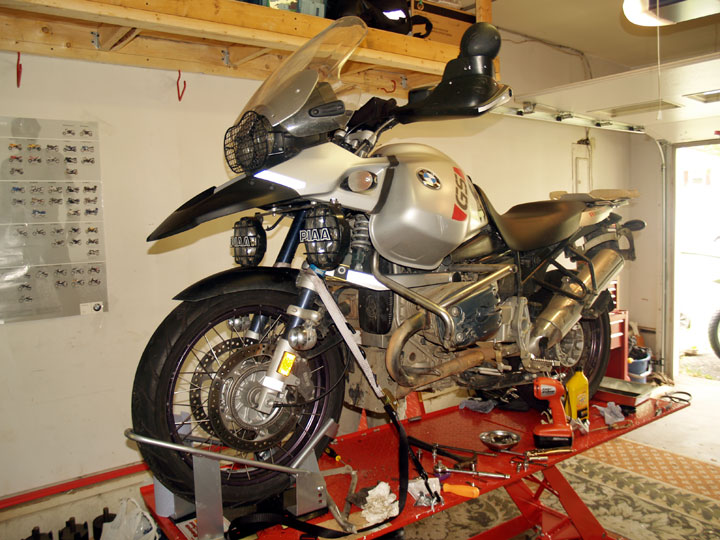
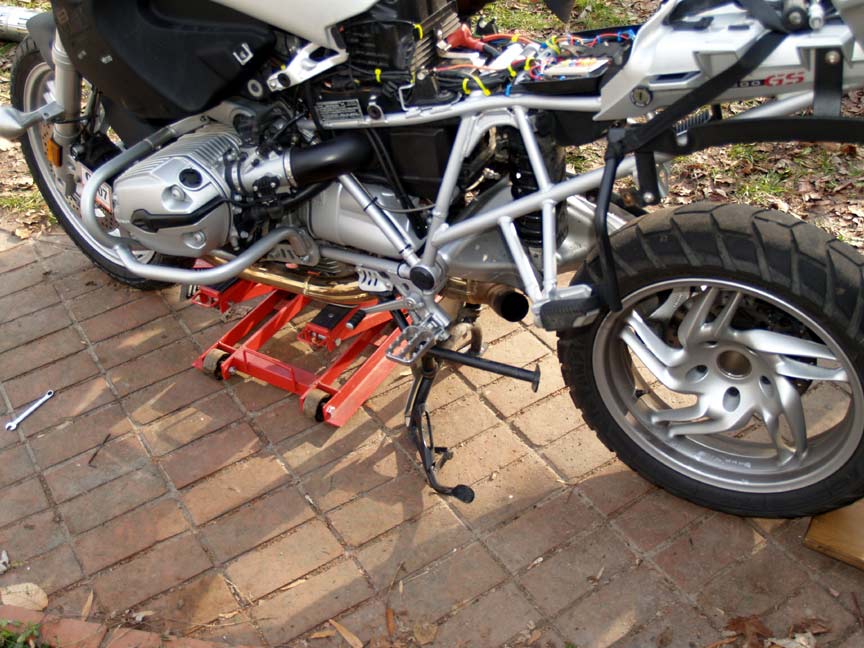
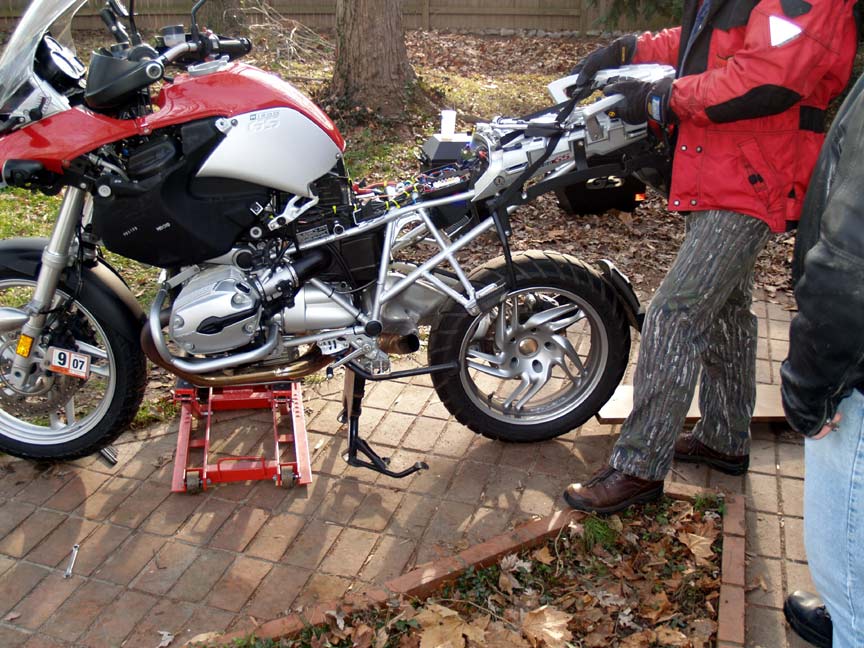
Lift the bike with a jack.
Have someone hold the bike steady, or strap it down. (Yes, this is after the shock was removed, but for illustration purposes.)
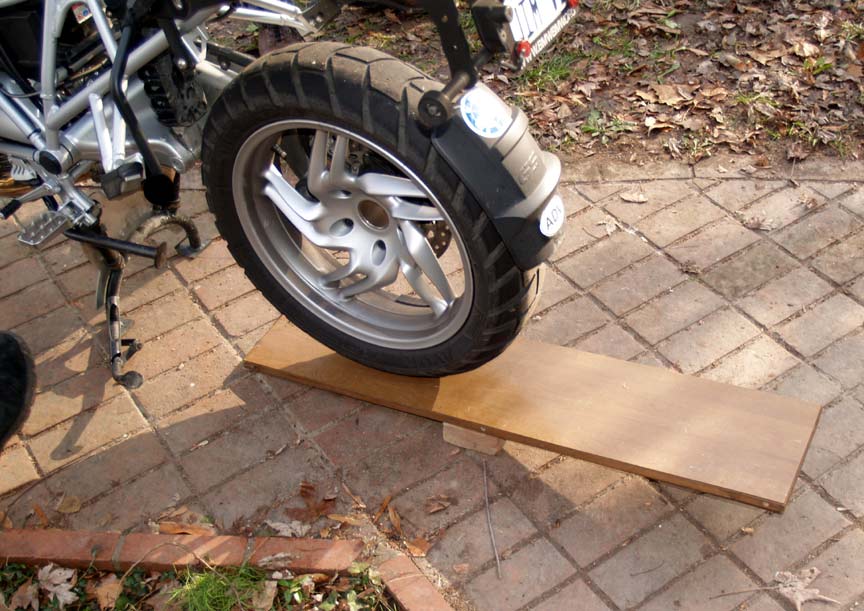
Prop the rear wheel so it doesn�t drop when the shock bolts are removed.
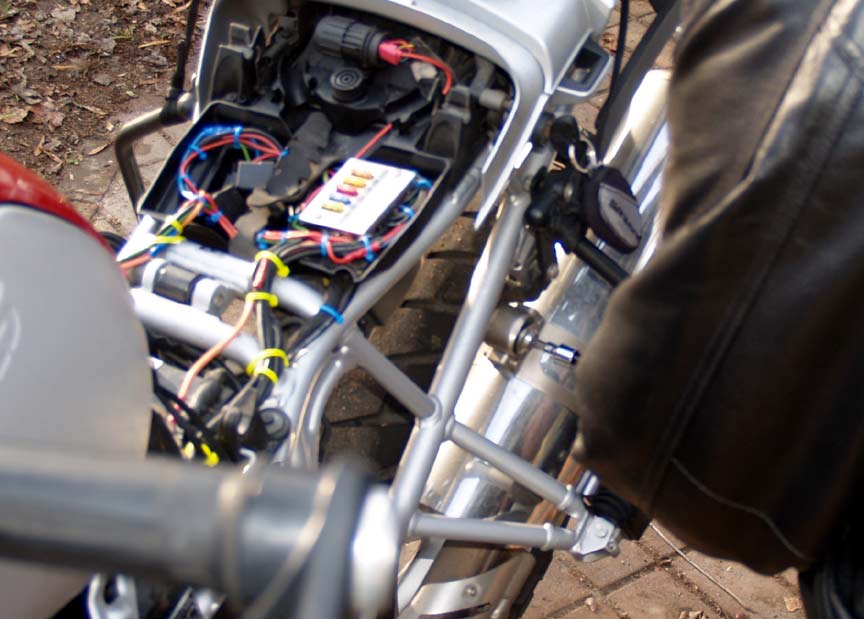
Loosen the upper bolt. T-45 and 16mm socket.
Remove the bolt and put a screwdriver or a punch in the hole to hold it in place.
Remove the lower bolt T-50. In some cases this bolt uses red locktight so you must heat it to 200� to get it loose.
Pull up on the frame while stepping on the rear wheel to break it loose.
Pull up on the frame while stepping on the rear wheel to break it loose.
Pull the shock out the side.
This is the rear lower bolt with blue Locktight on it. Clean it off, and the threads on the swingarm.
This is the upper nut, an oval locking nut.
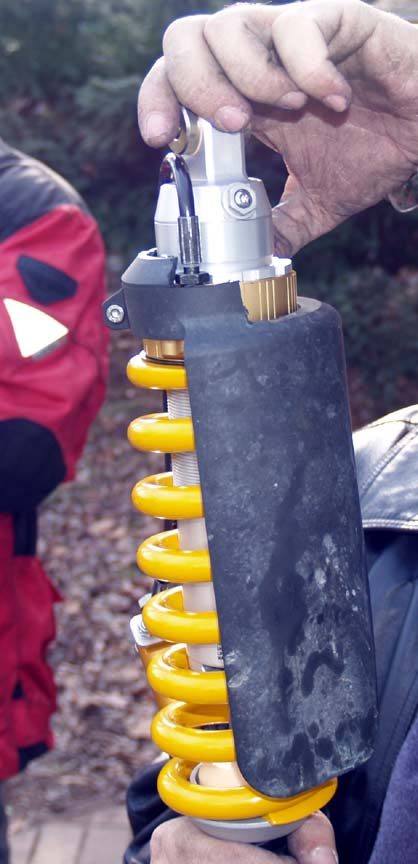
I removed the stock shock cover and installed it on the Ohlins.
It took a slight trimming at the top, and had plenty of clearance to the spring. 30K miles later, on and off road, it is still working fine!
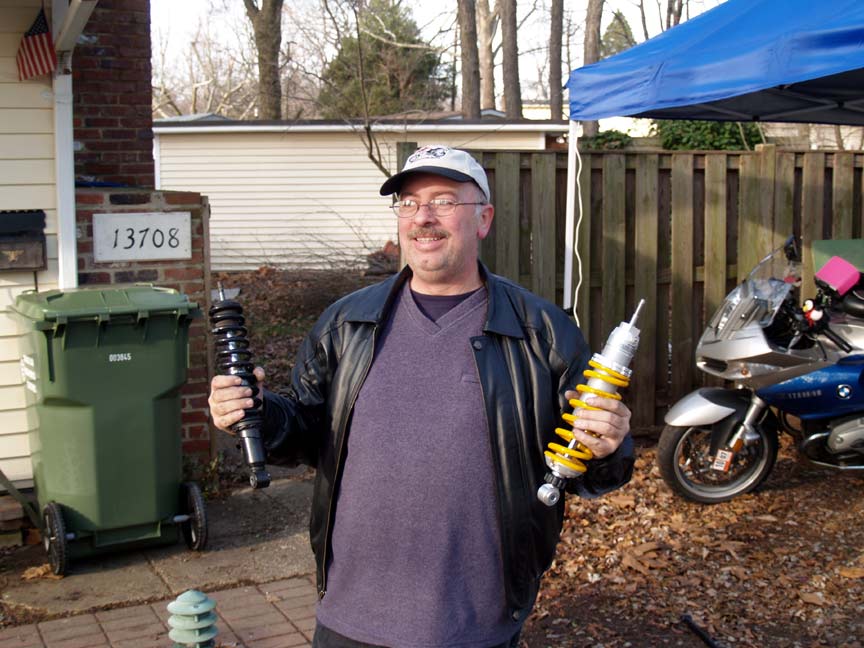
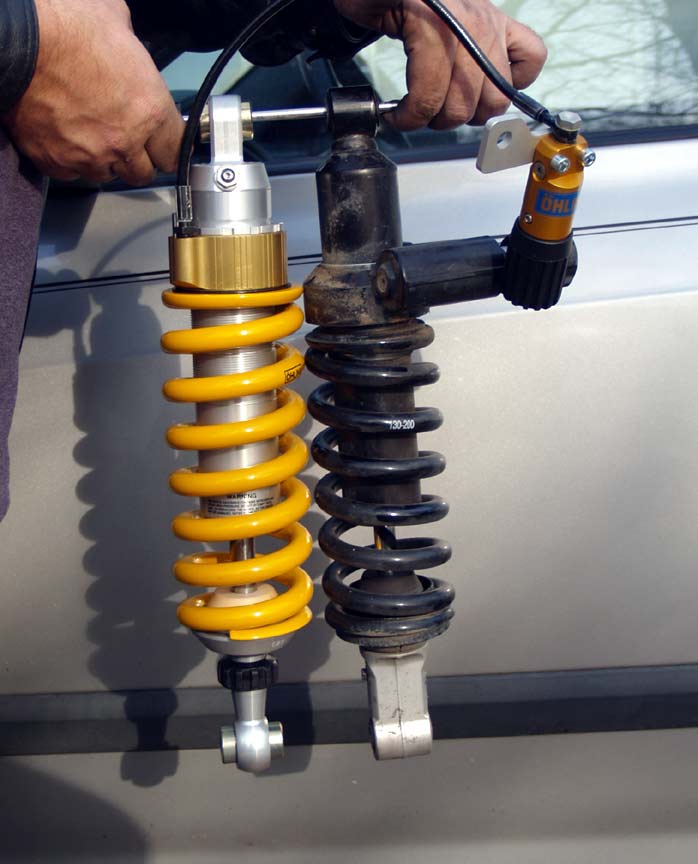
Stock shock compared to the Ohlins. The Ohlins was .5� shorter.
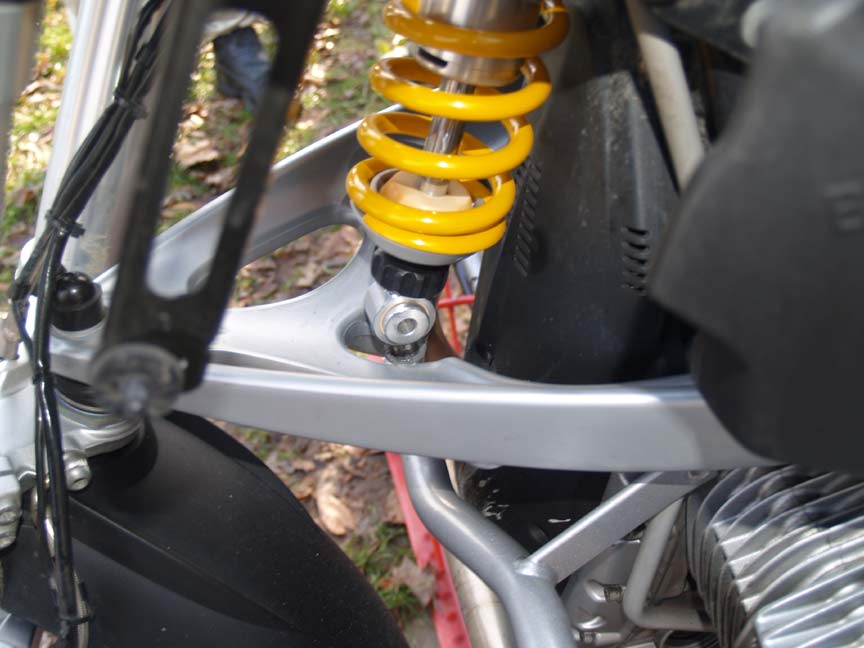
Slide the new shock in place.
Install the upper bolt. Tighten to 50NM, no locktight, though, no doubt BMW would have you replace the locking nut, I simply reused it.
Install the lower bolt with blue locktight and tighten to 58NM. You may have to work it a bit, as the bushing is a tight fit.
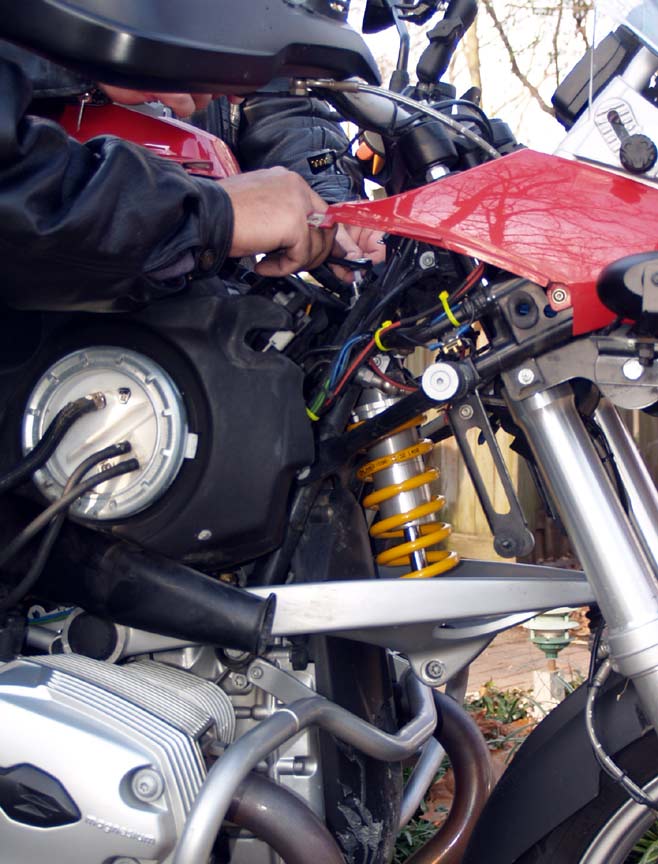
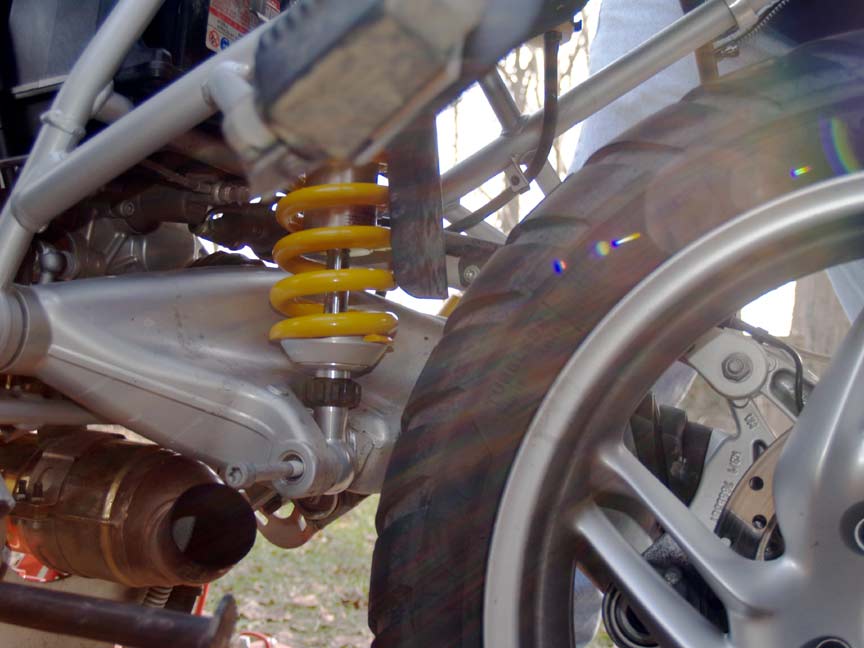
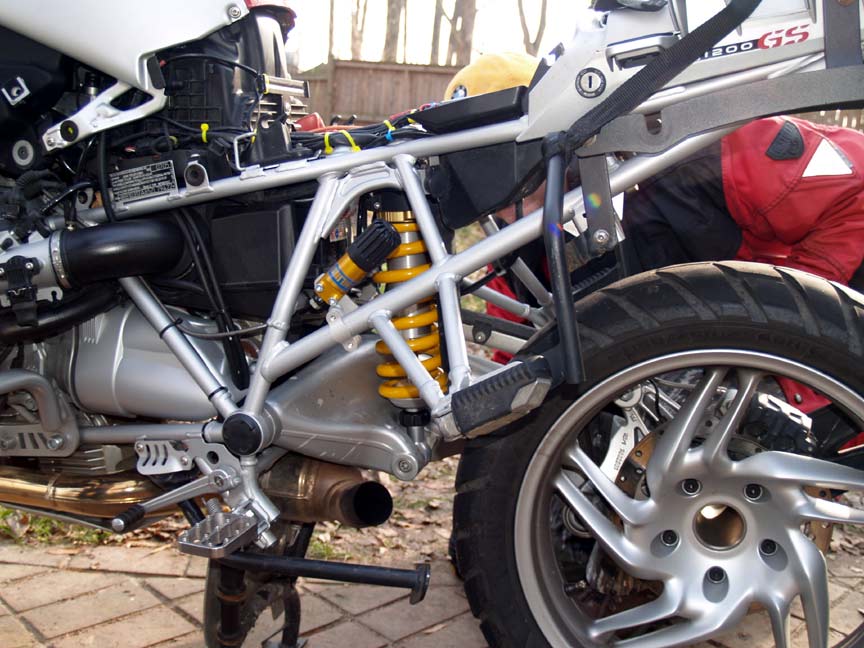
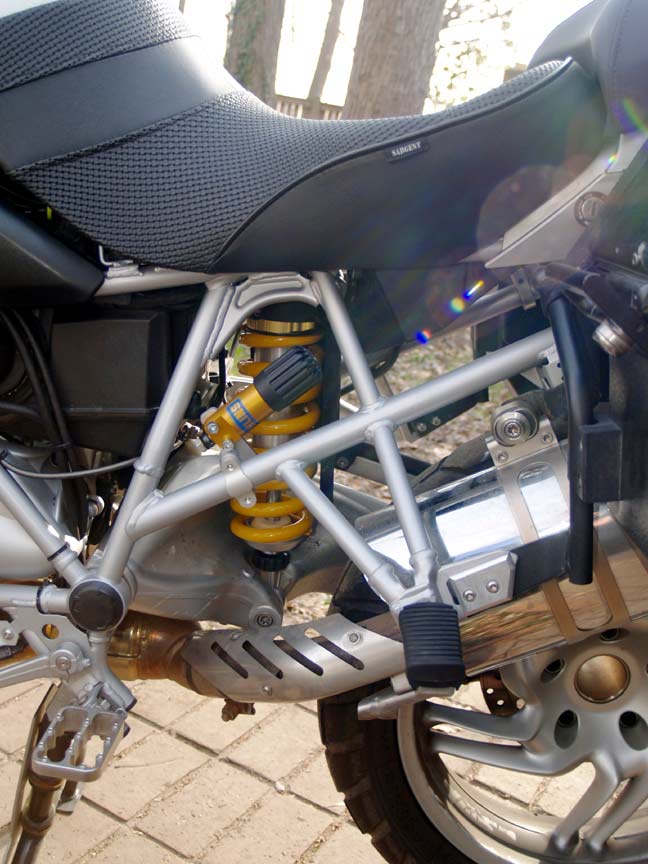
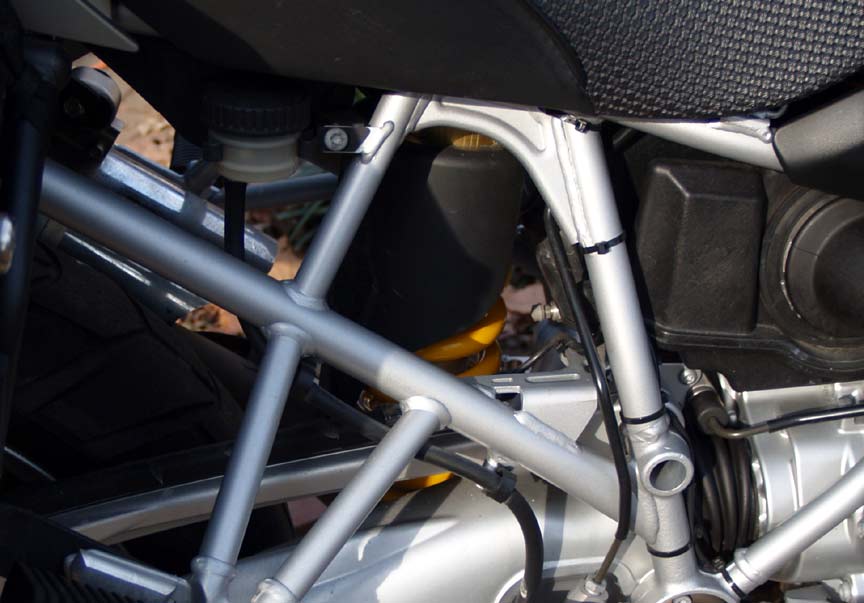
Shock installed. I placed the preload adjuster on the left side where the fuel vapor canister used to be. You could put it on the other side if you still have the canister.
Simply place the clamping bracket in place and tighten it all down snugly.
Simply place the clamping bracket in place and tighten it all down snugly.
Install the muffler, making sure to align it horizontally, the duel exhaust holes should be parallel with the ground.
Notice that when the shock is installed the stock cover provides good protection.
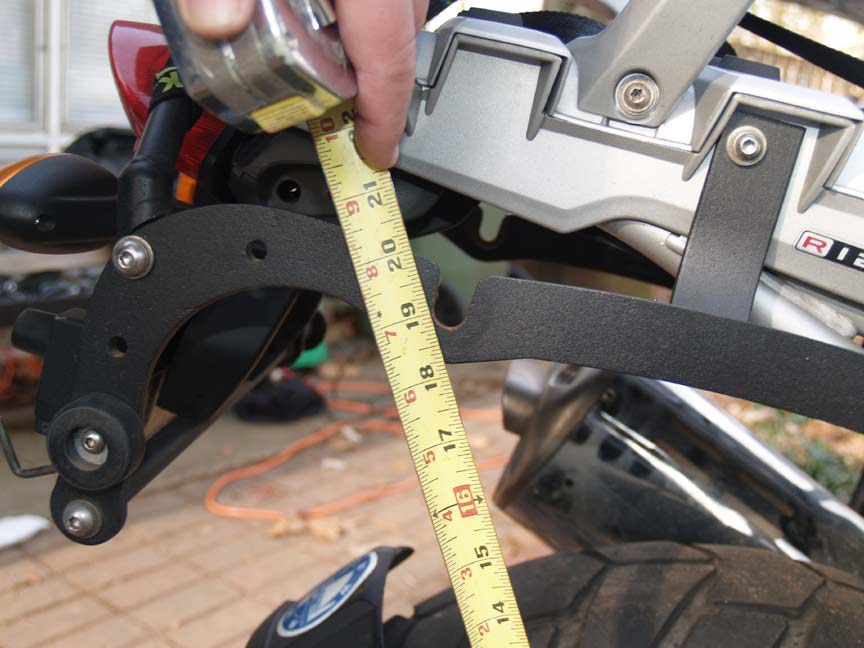
Measured loaded.
Measured static rear.
And the result? Basically the same height when new! Maybe slightly taller, but barely noticeable. SO, it is true, stock height Ohlins WILL raise the bike about an inch, where .5� lower Ohlins will only raise it maybe half an inch!
Later the springs will break in and the sag will increase to normal height and lower for the .5" lower shocks.
The REAL result?
The shocks made me comfortable going up to 10 mph faster on my favorite tight twisty loop.
The shocks come with full hard rebound damping set, but NO preload, so some adjustments needed to be made.
I ordered 210-220 pound rider shocks, and need zero preload, just the way I want it.
I adjusted the front damping 5 clicks down from full hard, and the rear 10 clicks down from full hard.
This made for a very nice ride, but firm enough to handle the fun stuff with ease!
30K miles later the shocks are still working great!
Jim
Download a PDF of this process!


JVB Productions
Motorcycle Maintenance and Repair Videos